Essential Parts of a Roof: Complete Guide to Roofing Components & Their Functions

When we look at a roof from the ground, we often see just a simple protective covering. But there's much more to this essential structure than meets the eye. Understanding the parts of a roof helps us make informed decisions about maintenance repairs and replacements.
Every component plays a crucial role in protecting our homes from the elements. From the visible shingles to the hidden underlayment each piece works together to create a weatherproof shield. Whether you're planning a renovation dealing with repairs or simply curious about what's overhead knowing these components can save you time and money.
We'll explore the anatomy of a typical residential roof breaking down each element and its function. You'll discover why some parts are more critical than others and how they all connect to form a complete roofing system.
The Main Structural Components of a Roof
Understanding structural roof components helps us make informed decisions about repairs and replacements. These essential parts work together to create a stable and weather-resistant shelter for our homes.
Roof Decking
Roof decking forms the foundation for all other roofing materials. We typically install plywood or oriented strand board (OSB) sheets measuring 4x8 feet directly onto the rafters or trusses. The decking creates a flat surface that supports shingles, underlayment, and other protective layers.
Common decking materials include:
- 1/2-inch CDX plywood for standard residential applications
- 5/8-inch OSB for enhanced durability
- 3/4-inch tongue-and-groove boards for heavy snow loads
The decking transfers the weight of roofing materials and environmental loads to the structural frame below. We space nails 6 inches apart along the edges and 12 inches in the field to secure decking properly. Damaged decking compromises the entire roof system, allowing water infiltration and reducing structural integrity.
Most building codes require a minimum thickness of 7/16-inch for OSB and 3/8-inch for plywood decking. We check local requirements before installation since regional snow and wind loads affect specifications.
Rafters and Trusses
Rafters and trusses form the primary load-bearing framework of our roof structure. Rafters consist of individual wooden beams that run from the ridge to the wall plate, creating the roof's slope. Trusses combine multiple wooden members into triangular units, offering greater strength and spanning capabilities.
Key differences between rafters and trusses:
- Rafters require interior load-bearing walls for support
- Trusses span up to 60 feet without interior support
- Rafters cost less initially but take longer to install
- Trusses arrive pre-fabricated, reducing construction time by 50
We space rafters and trusses 16 or 24 inches apart, depending on load requirements and local building codes. Standard residential rafters use 2x6 or 2x8 lumber for spans up to 16 feet. Larger spans require 2x10 or 2x12 members.
Trusses distribute weight more efficiently through their triangular design, making them ideal for open floor plans. The interconnected web members in trusses prevent sagging and maintain structural stability over decades of service.
Ridge Board and Ridge Beam
The ridge board and ridge beam sit at the roof's peak, connecting opposing rafters or trusses. Ridge boards provide a nailing surface for rafter connections but don't carry structural loads. Ridge beams support the roof's weight and transfer it to load-bearing walls or posts.
Ridge boards typically use 1x or 2x lumber that's 2 inches wider than the rafters they connect. A 2x8 rafter system requires a 1x10 or 2x10 ridge board. We cut rafters at precise angles to fit snugly against the ridge board, creating a strong connection point.
Ridge beams differ significantly from ridge boards:
- Ridge beams use engineered lumber or steel for load-bearing capacity
- Ridge boards serve only as connection points
- Ridge beams eliminate the need for ceiling joists or collar ties
- Ridge boards require additional structural support from walls below
We install ridge beams in cathedral ceilings and open-concept designs where traditional framing isn't practical. The beam size depends on the roof span, with 4x12 beams supporting spans up to 16 feet in typical residential construction.
Essential Roofing Materials and Layers

The protective layers of a
roof work in harmony to shield our homes from weather damage. Each material serves a specific purpose in the roofing system's defense against moisture, wind, and temperature extremes.
Underlayment
Underlayment forms the critical moisture barrier between roof decking and shingles. We install this protective layer directly on top of the decking to prevent water infiltration when upper materials sustain damage.
Three primary types of underlayment protect modern roofs:
- Asphalt-saturated felt (15-30 lb weights)
- Rubberized asphalt (self-adhering membranes)
- Synthetic non-bitumen (polypropylene or polyethylene)
Synthetic underlayments resist tearing 3-4 times better than traditional felt paper. These materials withstand UV exposure for up to 6 months during construction delays. Rubberized asphalt underlayments self-seal around nail penetrations and create waterproof barriers in valleys and around roof penetrations.
Installation requires 2-inch overlaps on horizontal seams and 4-inch overlaps on vertical seams. We secure underlayment with cap nails or staples every 6-12 inches along edges. Proper installation prevents wind uplift and ensures complete moisture protection across the entire roof surface.
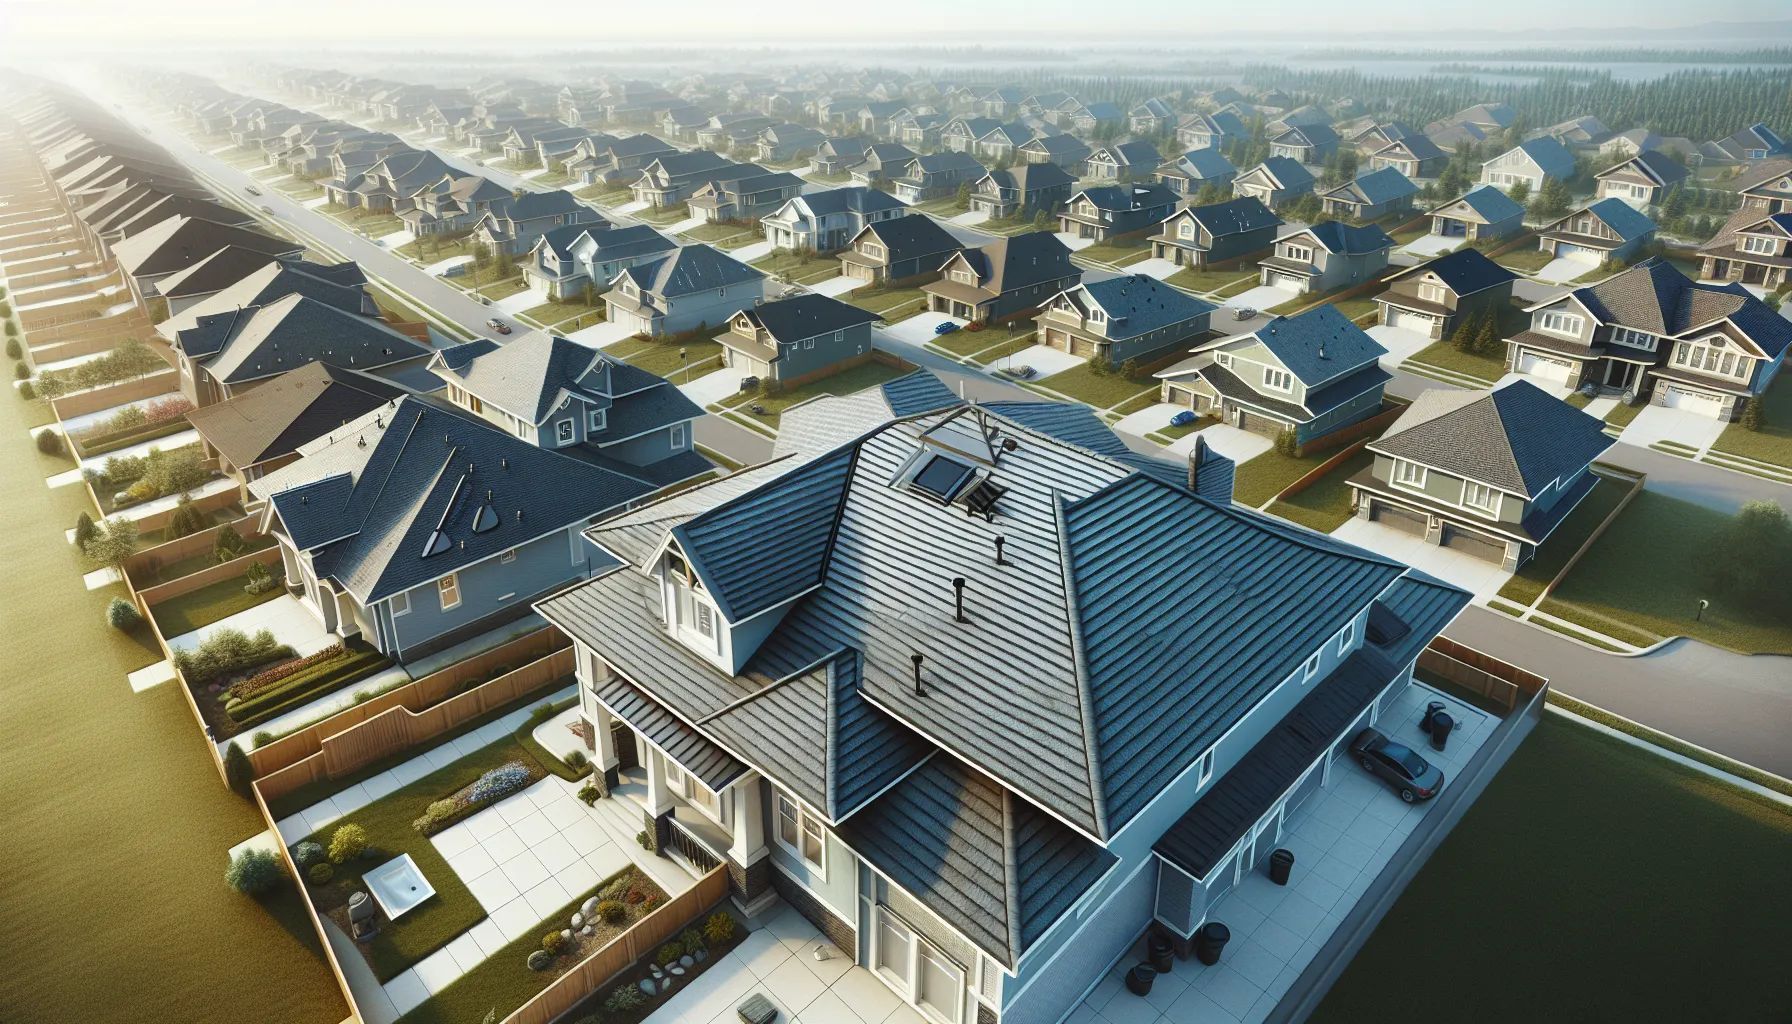
Shingles and Roofing Tiles
Shingles and tiles create the outermost protective layer that shields roofs from rain, snow, wind, and UV radiation. These materials determine both the roof's appearance and its lifespan.
Common roofing materials include:
- Asphalt shingles (20-30 year lifespan)
- Wood shakes (30-50 year lifespan)
- Metal panels (40-70 year lifespan)
- Slate tiles (75-100+ year lifespan)
- Clay tiles (50-100 year lifespan)
Asphalt shingles dominate 75% of residential roofs due to their $3.50-$5.50 per square foot installed cost. Three-tab shingles weigh 200-250 pounds per square while architectural shingles weigh 350-425 pounds per square. Clay and slate tiles require reinforced roof structures to support their 800-1,500 pounds per square weight.
Climate conditions influence material selection. Clay tiles excel in hot climates with their thermal mass properties. Metal roofing sheds snow efficiently in cold regions. We match materials to local weather patterns and building codes for optimal performance.
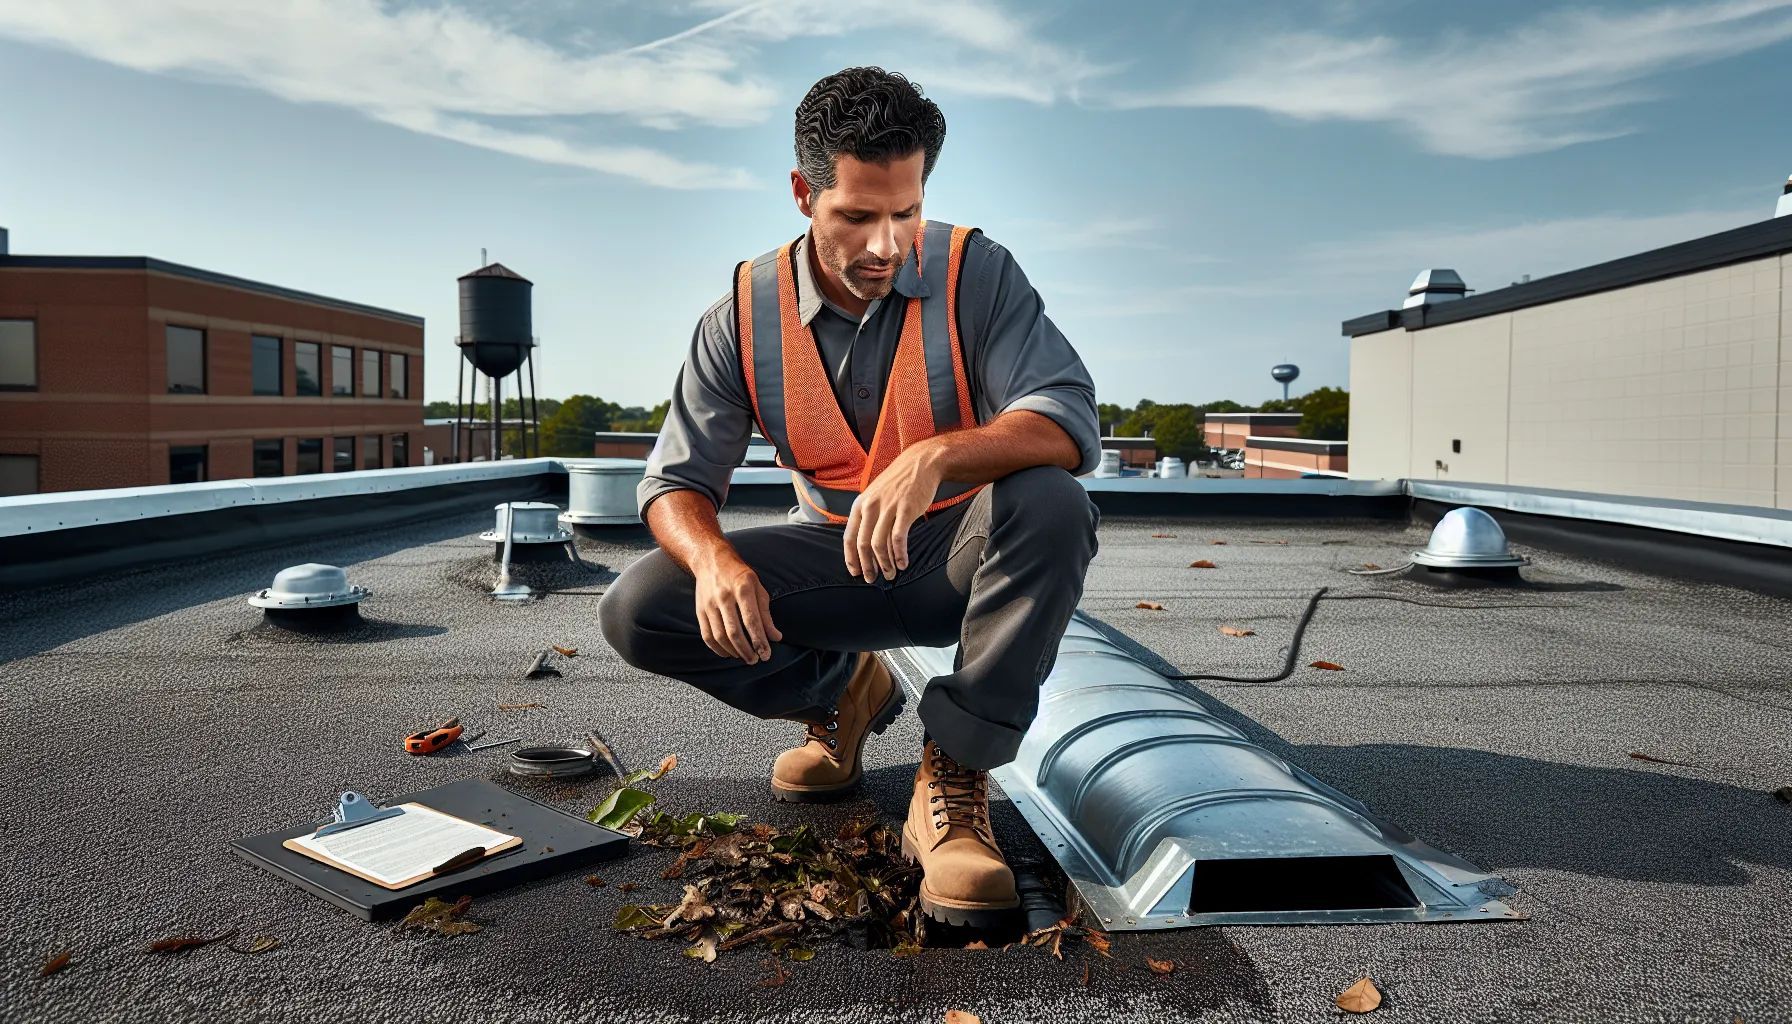
Flashing
Flashing seals vulnerable joints where water infiltration commonly occurs. We install thin metal pieces around roof penetrations, valleys, and wall intersections to direct water away from these critical areas.
Key flashing locations include:
- Chimney perimeters (step and cricket flashing)
- Pipe vents (boot-style collars)
- Skylights (continuous perimeter strips)
- Roof-to-wall transitions (step flashing)
- Valley intersections (W-shaped channels)
Aluminum flashing costs $10-12 per linear foot installed and resists corrosion in most climates. Copper flashing costs $15-18 per linear foot but lasts 70+ years. Galvanized steel provides economical protection at $8-10 per linear foot with a 20-30 year lifespan.
Proper flashing installation requires 4-inch minimum vertical coverage and 2-inch horizontal overlaps. We embed flashing in roofing cement and secure with compatible fasteners every 8-12 inches. Counter-flashing covers step flashing for complete water protection at wall intersections.
Ventilation and Drainage Systems
Proper ventilation and drainage systems protect roofs from moisture damage and extend their lifespan. These components work together to regulate temperature, remove excess humidity, and channel rainwater away from the building structure.
Soffit and Fascia
Soffits sit beneath the overhanging edges of our roofs and provide essential intake ventilation for attic spaces. These horizontal surfaces contain small perforations that allow fresh air to enter while keeping insects and debris out. Common materials include aluminum and vinyl, chosen for their durability and low maintenance requirements.
Fascia boards run vertically along the roof edge above the soffit. They create a finished appearance and provide a mounting surface for gutters. Aluminum fascia covers 1x6 or 1x8 wood boards in most installations. The fascia protects the exposed ends of rafters from weather damage.
Together, soffits and fascia form a complete edge system. Air enters through vented soffits and travels up through the attic space. This airflow prevents moisture buildup that causes mold growth and wood rot. Installing 1 square foot of soffit vent for every 150 square feet of attic space ensures adequate ventilation.
Gutters and Downspouts
Gutters attach to the fascia board and collect rainwater flowing off roof surfaces. Standard residential gutters measure 5 or 6 inches wide and come in K-style or half-round profiles. Aluminum gutters dominate the market due to their lightweight properties and corrosion resistance.
Downspouts connect to gutters at strategic locations to carry water to ground level. A 2x3 inch downspout handles runoff from 600 square feet of roof area. Larger 3x4 inch downspouts serve up to 1,200 square feet. Installers position downspouts every 20 to 40 feet along gutter runs.
Proper gutter slope ensures efficient water flow. A quarter-inch drop per 10 feet of gutter length prevents standing water. Gutter guards reduce maintenance by blocking leaves and debris. Extensions at the bottom of downspouts direct water at least 4 feet away from foundations.
Roof Vents
Ridge vents run along the peak of sloped roofs and provide continuous exhaust ventilation. These low-profile vents blend with roofing materials while allowing hot, moist air to escape. Ridge vents work with soffit vents to create natural convection currents that pull fresh air through attic spaces.
Static vents offer spot ventilation in specific roof areas. Box vents, turbine vents, and power vents each serve different ventilation needs. One square foot of exhaust vent area balances with one square foot of intake vent area for optimal performance.
Proper vent installation prevents weather infiltration. Flashing and sealants protect vent openings from rain and snow. Baffles inside ridge vents block wind-driven moisture while maintaining airflow. Regular vent maintenance removes obstructions like bird nests or wasp colonies that restrict ventilation.
Additional Roof Elements
Beyond the core structural components and essential roofing materials, roofs incorporate specialized features that enhance functionality and protection. These elements address specific needs such as ventilation, natural lighting, and protection against extreme weather conditions.
Chimney and Chimney Cap
Chimneys serve as vertical exhaust systems for fireplaces, furnaces, and water heaters. These structures extend through the roof deck and rise above the roofline to ensure proper draft and prevent downdrafts. The construction typically involves masonry materials like brick or stone, though prefabricated metal chimneys are common in modern homes.
Chimney caps protect the chimney opening from rain, snow, and debris while allowing smoke and gases to escape freely. These metal or masonry covers prevent water damage to the chimney liner and stop animals from nesting inside. A properly installed cap includes a spark arrestor screen with openings between 3/8 and 5/8 inches to block embers while maintaining airflow.
Regular chimney maintenance prevents costly repairs and safety hazards. Annual inspections identify cracks in the crown, damaged flashing, or deteriorating mortar joints. Professional cleaning removes creosote buildup that poses fire risks, especially when accumulation exceeds 1/8 inch thickness.
Skylights and Dormers
Skylights provide direct overhead natural lighting through roof-mounted windows. Fixed skylights offer consistent illumination, while venting models open to release hot air and improve ventilation. Proper skylight installation requires reinforced framing around the opening and specialized flashing kits to maintain waterproofing. Energy-efficient models feature double or triple-pane glass with low-E coatings that reduce heat transfer by up to 50%.
Dormers extend from the roof slope to create additional headroom and window space in upper floors. These projections feature their own mini-roofs in shed, gable, or hip configurations that complement the main roof design. Unlike skylights, dormers provide vertical windows that offer better control over light direction and intensity throughout the day.
Both skylights and dormers require careful integration with existing roof systems. Flashing installation around these features prevents water infiltration at connection points. Dormer construction adds 15-20 square feet of usable floor space per unit, while skylights typically range from 2x2 feet to 4x6 feet in residential applications.
Ice and Water Shield
Ice and water shield creates a waterproof barrier in vulnerable roof areas prone to ice dam formation and wind-driven rain. This self-adhering membrane consists of rubberized asphalt backing with a protective film that installers remove during application. The material bonds directly to roof decking, sealing around nail penetrations to prevent water infiltration.
Critical installation areas include eaves extending 24 inches past the interior wall line, valleys, and around roof penetrations like chimneys and vent pipes. In regions with severe winter weather, building codes often require ice and water shield coverage extending 36-48 inches from the roof edge. The membrane also protects sidewalls where roofs meet vertical surfaces.
Quality ice and water shield products maintain flexibility in temperatures ranging from -40°F to 240°F. The material's thickness typically measures 40-60 mils, providing superior puncture resistance compared to standard underlayment. Professional installation ensures proper overlap of 3-6 inches between sheets and complete adhesion without air pockets that compromise protection.
Conclusion
Understanding your roof's anatomy empowers you to make informed decisions about maintenance and repairs. We've explored how each component works together to create a reliable protective system for your home.
Regular inspections of these elements help you spot potential issues before they become costly problems. Whether you're planning renovations or simply want to maintain your home's value, this knowledge proves invaluable.
Your roof's longevity depends on the quality and condition of all its parts working in harmony. We recommend scheduling professional inspections annually to ensure every component functions properly.
Armed with this comprehensive understanding, you'll communicate more effectively with roofing professionals and make smarter investments in your home's protection.
What are the main structural components of a roof?
The main structural components include roof decking (plywood or OSB), which serves as the foundation for roofing materials, and rafters or trusses that form the primary load-bearing framework. Ridge boards or ridge beams connect the rafters at the peak. These components work together to create a stable, weather-resistant structure that supports the entire roofing system.
How long do different roofing materials typically last?
Roofing material lifespans vary significantly. Asphalt shingles typically last 20-30 years, while metal roofing can last 40-70 years. Clay or concrete tiles often exceed 50 years, and slate can last over 100 years. Climate conditions, installation quality, and maintenance practices significantly influence actual lifespan. Regular inspections and prompt repairs can extend any roof's longevity.
What is underlayment and why is it important?
Underlayment is a critical moisture barrier installed between roof decking and shingles. The three main types are asphalt-saturated felt, rubberized asphalt, and synthetic materials. It provides secondary protection against water infiltration, prevents wind uplift, and extends roof life. Proper installation is essential for optimal performance and warranty compliance.
How does roof ventilation work?
Roof ventilation operates through intake vents (typically in soffits) and exhaust vents (ridge or static vents). Cool air enters through soffits, warms up in the attic, and exits through upper vents. This continuous airflow prevents moisture buildup, reduces heat accumulation, and extends shingle life. Balanced ventilation requires proper ratios of intake to exhaust venting.
What is flashing and where is it needed?
Flashing is waterproof material that seals vulnerable roof joints and transitions. It's essential around chimneys, skylights, dormers, valleys, and where roofs meet walls. Common materials include aluminum, copper, and galvanized steel. Proper flashing installation prevents water infiltration at these critical junctions, protecting your home from costly water damage.
When should I consider roof replacement versus repairs?
Consider repairs for isolated damage affecting less than 30% of your roof and when the roof is under 15 years old. Replacement is necessary when experiencing widespread damage, multiple leaks, sagging structures, or when approaching the material's expected lifespan. Missing granules, curling shingles, and daylight through roof boards also indicate replacement needs.