How to Install Shingles on a Flat Roof

Installing shingles on a flat roof isn't as simple as it sounds, in fact, most truly flat roofs shouldn't have shingles at all. Asphalt shingles require a minimum slope to function properly, and trying to install them on surfaces that are too flat can lead to leaks, premature failure, and costly repairs. But if your "flat" roof actually has a low slope that meets manufacturer requirements, there's a right way to get the job done. In this guide, we'll walk you through everything you need to know: when shingles are appropriate, what materials you'll need, and the exact steps to install them correctly on low-slope roofs. Whether you're a DIY enthusiast or a professional looking to refresh your knowledge, understanding these critical distinctions will save you headaches down the road.
Understanding Flat Roof Shingle Installation

Before we jump into the installation process, we need to address a critical point: asphalt shingles are not designed for truly flat roofs. The term "flat roof" can be misleading because what looks flat often has a slight pitch. Understanding the difference between a genuinely flat roof and a low-slope roof is essential before you start any work.
Shingles rely on gravity and slope to shed water. When water sits on a roof instead of running off, it finds its way under shingles, through nail holes, and into your home. This is why manufacturers and building codes set minimum slope requirements. Ignoring these requirements voids warranties and sets you up for failure.
If your roof is genuinely flat or below the minimum slope requirements, you'll need to use rolled roofing, self-adhesive cap sheets, rubber membranes, or other flat-roof systems instead. Don't try to force shingles onto a surface they weren't designed for.
When Shingles Are Appropriate for Flat Roofs
Asphalt shingles can only be installed on roofs with a pitch of at least 2:12, and most professionals recommend a minimum of 3:12 for optimal performance. A 2:12 pitch means the roof rises 2 inches for every 12 inches of horizontal run. Anything less than that, and you're in membrane territory.
Before starting your project, measure your roof's pitch. You can do this by using a level and measuring the vertical rise over a 12-inch horizontal span. If your measurements show you're at or above 2:12, you can proceed with shingles, but you'll need to take extra precautions.
Low-slope roofs between 2:12 and 4:12 require special underlayment products and installation techniques. These aren't optional extras: they're requirements for a watertight installation. Check your local building codes and the shingle manufacturer's specifications before purchasing materials.
Limitations and Considerations
Even when your slope meets the minimum requirements, low-slope shingle installations come with trade-offs. Wind-driven rain can force water up and under shingles more easily on low slopes. Standing water after heavy rains takes longer to evaporate, which can accelerate wear.
Shingles installed on low-slope roofs typically have shorter lifespans than those on steeper pitches. The constant exposure to moisture and slower drainage puts extra stress on the materials. Factor this into your decision, you may need to replace the roof sooner than you would on a steeper surface.
Warranty coverage may also be affected. Some manufacturers limit their warranties on low-slope applications or require specific installation methods. Read the fine print before you buy, and document your installation process in case you need to file a claim later. We always recommend consulting with a roofing professional if you're uncertain about your specific situation.
Materials and Tools You'll Need
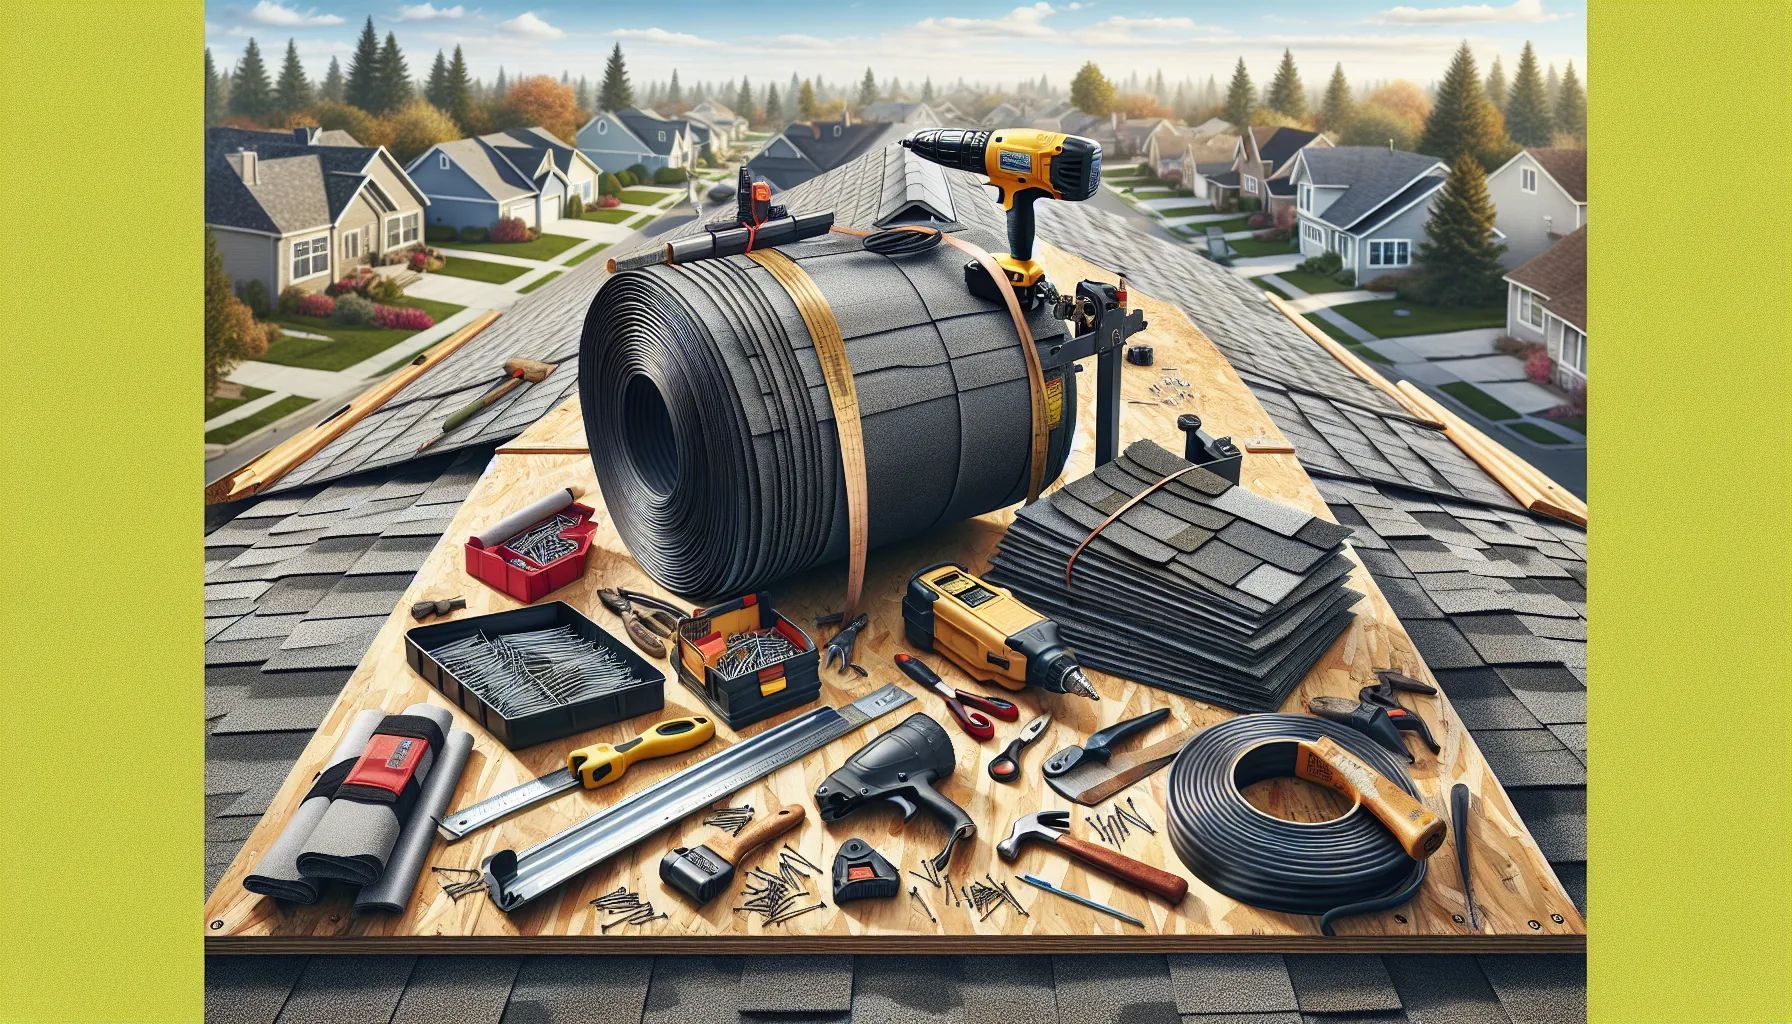
Gathering the right materials before you start will make your installation smoother and more professional. For low-slope shingle installations, you can't cut corners on quality, every component plays a role in keeping water out.
Here's what you'll need:
- Asphalt shingles: Choose architectural or three-tab shingles rated for your climate. Buy 10-15% extra to account for waste and cuts.
- Starter strip shingles: These provide a solid base along the eaves and prevent blow-offs.
- Ice and water barrier membrane: This self-adhered underlayment is critical for low-slope roofs. Plan to cover at least the bottom three feet and all vulnerable areas.
- Synthetic or felt underlayment: Cover the entire deck with this secondary layer.
- Metal drip edge: Install along eaves and rakes to direct water away from fascia boards.
- Roofing nails: Use 1.25-inch galvanized roofing nails (or longer for thick shingles). You'll need more nails per shingle on low slopes.
- Hip and ridge cap shingles: For ridges, hips, and any peaks.
- Roofing cement: For sealing flashing and critical joints.
- Flashing: Step flashing for walls, pipe boots for vents, and valley flashing if applicable.
As for tools, you'll need a chalk line for layout, a utility knife with extra blades, a tape measure, a hammer or pneumatic nail gun, a pry bar for removing old materials, and tin snips for cutting metal. A sturdy ladder and roof jacks or scaffolding for safety are non-negotiable. Don't work on a roof without proper fall protection.
Preparing Your Flat Roof for Shingle Installation
Preparation determines the success of your shingle installation. A clean, solid deck provides the foundation for everything that comes next. If you skip steps here, you'll pay for it later with leaks and repairs.
Start by removing all existing roofing materials. Old shingles, felt, nails, and debris must come off completely. While some reroofing projects allow layering new shingles over old, this isn't advisable on low-slope roofs where every bit of drainage matters. You want to start with a clean slate.
Once the deck is bare, sweep it thoroughly. Remove any protruding nails and hammer down loose boards. This is your chance to assess the condition of the deck and make necessary repairs before covering it up again.
Inspecting the Roof Deck
Walk the entire deck and look for soft spots, warping, or rot. Press down on questionable areas, if the wood gives or feels spongy, it needs replacement. Water damage often hides under old roofing materials, so don't be surprised if you find issues.
Replace any damaged plywood or OSB sheathing with new material of the same thickness. Use construction-grade panels rated for roof applications. Secure them with nails or screws according to local building codes, typically every 6 inches along the edges and 12 inches in the field.
Check for proper deck ventilation while you're at it. Low-slope roofs can trap heat and moisture, which shortens shingle life. Make sure your attic ventilation meets current standards, this isn't directly part of shingle installation, but it affects the longevity of your work.
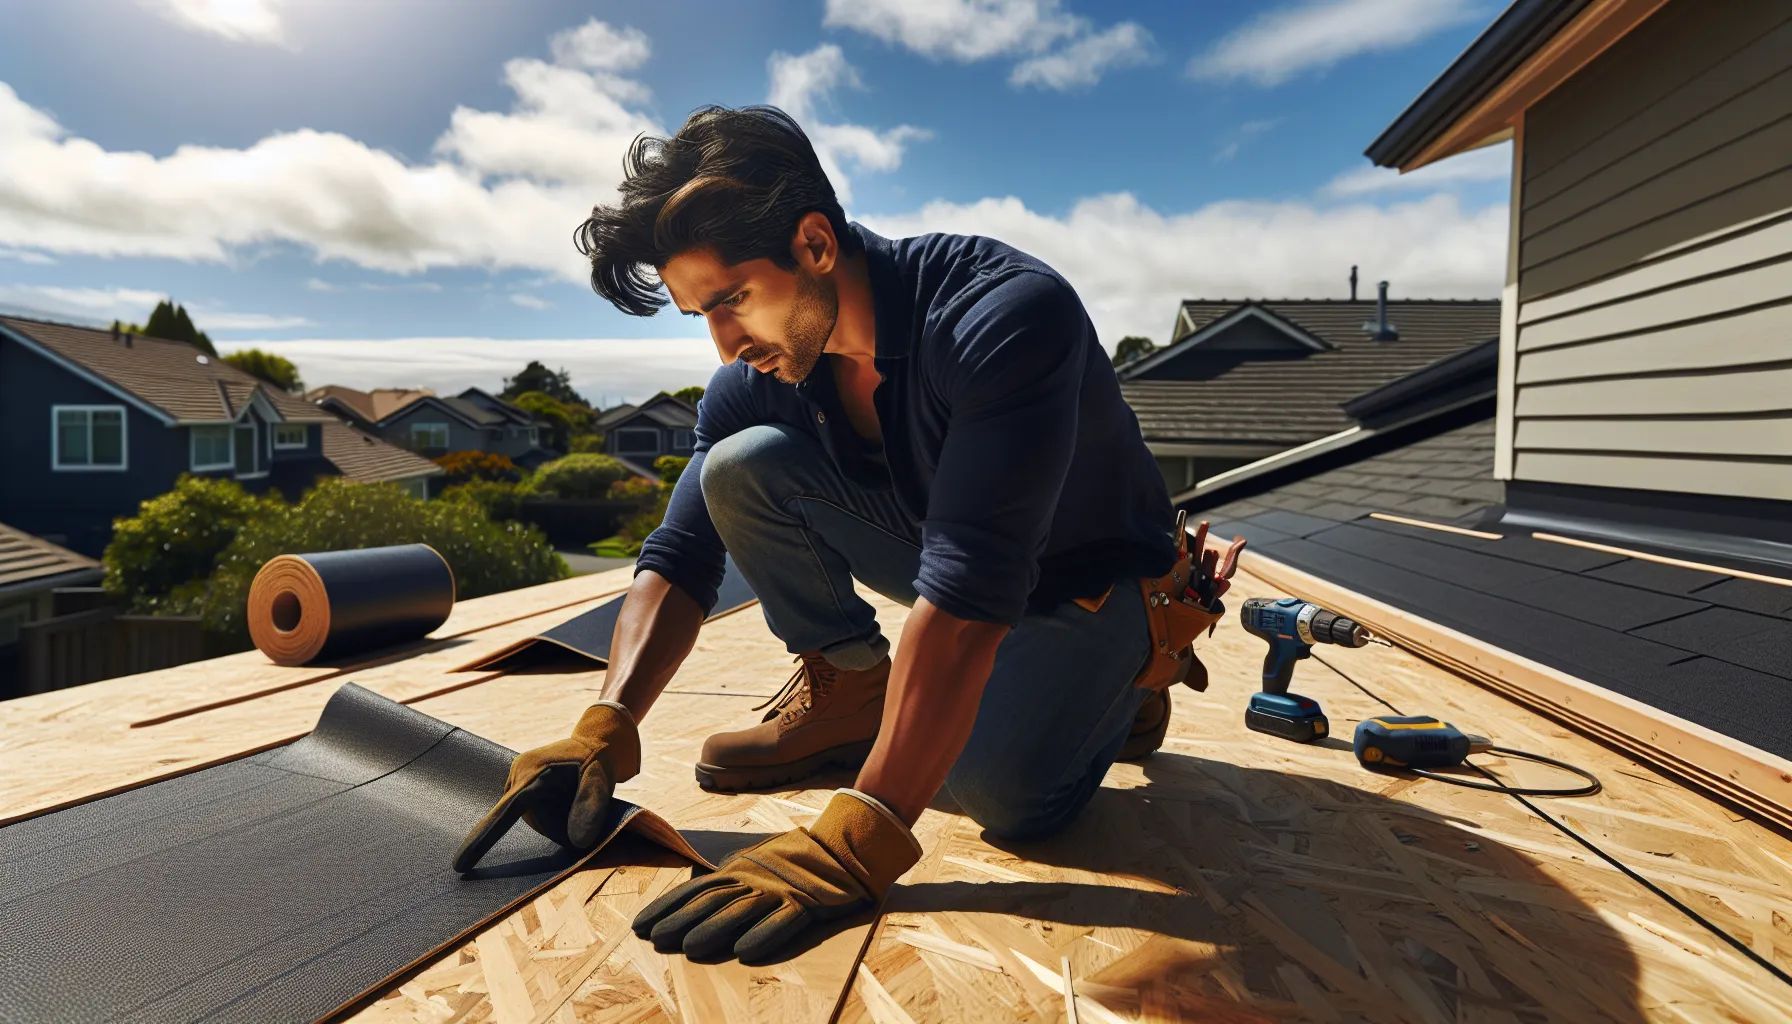
Installing Underlayment and Ice Barriers
Underlayment creates a secondary water barrier and protects the deck if shingles fail. On low-slope roofs, we use more ice and water barrier than we would on steep roofs because the risk of water infiltration is higher.
Start by installing drip edge along the eaves. This metal flashing directs water away from the fascia and into the gutters. Nail it every 12 inches, overlapping sections by at least 2 inches.
Next, apply self-adhered ice and water barrier membrane along the eaves. For low-slope roofs (2:12 to 4:12), extend this membrane at least 36 inches up from the eave edge, measured horizontally. In colder climates or areas with ice dam risk, extend it further, up to 6 feet. Also apply ice and water barrier around all roof penetrations, valleys, and along rakes.
Over the ice and water barrier and the rest of the deck, install synthetic underlayment or 30-pound felt paper. Start at the bottom and work up, overlapping each row by at least 6 inches. Secure it with cap nails or staples, keeping it smooth and wrinkle-free. Finally, install drip edge along the rakes, over the underlayment.
Step-by-Step Shingle Installation Process
With the deck prepared and underlayment in place, we're ready to start laying shingles. Proper installation technique is critical on low-slope roofs, small mistakes have bigger consequences when water doesn't drain as quickly.
Starting with the Starter Course
The starter course creates a solid edge for your first row of shingles and prevents wind from lifting them. You can use purpose-made starter strip shingles or cut the tabs off standard three-tab shingles to create your own.
Install the starter strips along the eaves, directly over the drip edge. The shingles should overhang the drip edge by about 1/2 to 3/4 inch, enough to direct water into the gutter without allowing it to wick back under the shingles. Check your shingle manufacturer's specifications for the exact overhang.
Nail the starter strips according to the manufacturer's instructions, typically placing nails about 3-4 inches up from the bottom edge. Space nails every 12 inches or as specified. On low-slope roofs, you may need additional nails to meet wind resistance requirements.
Repeat this process along the rake edges, running starter strips vertically if your layout requires it. The goal is to have a solid, sealed edge all around the perimeter before you start the field shingles.
Laying Subsequent Shingle Rows
Start your first full course of shingles at one bottom corner of the roof. Position the first shingle so it covers the starter strip completely, with the same 1/2 to 3/4 inch overhang at the eave and rake edges.
Nail each shingle according to the manufacturer's pattern, usually placing four to six nails per shingle. On low-slope roofs, six nails per shingle is standard to prevent blow-offs and ensure proper sealing. Place nails straight and flush, overdriven nails tear the shingle, and underdriven nails don't hold.
Snap a chalk line to keep your rows straight as you work up the roof. Shingles have alignment marks, but it's easy to drift over the course of a large roof. Check your alignment every few rows and adjust as needed.
Stagger the joints between shingles in adjacent rows. Most three-tab shingles stagger every 6 inches, while architectural shingles follow a different pattern. This offset prevents water from channeling between seams and reduces the chance of leaks. Follow the manufacturer's instructions for your specific shingle style.
Fastening Techniques for Low-Slope Applications
Low-slope roofs require more attention to fastening than steep roofs. Because water moves slowly and wind can drive rain upward under shingles, every nail must be properly placed and driven.
Use six nails per shingle on slopes between 2:12 and 4:12, even if the manufacturer's standard recommendation is four. Place nails in the nail line indicated on the shingle, this is usually just below the adhesive strip. Nails driven too high won't secure the shingle properly: nails driven too low will be exposed and can leak.
Drive nails straight, not at an angle. Angled nails tear the shingle and reduce holding power. Use a hammer or adjust your nail gun pressure so nails sit flush with the shingle surface. The head should compress the shingle slightly but not break the surface.
In high-wind areas or on very low slopes, consider hand-sealing each shingle tab with a dab of roofing cement under the edge. This creates a mechanical bond plus to the factory-applied adhesive strip. It's extra work, but it provides extra insurance against wind damage and water infiltration.
Sealing and Waterproofing Critical Areas
Even perfectly installed shingles will leak if you don't properly flash and seal roof penetrations and transitions. These details separate amateur work from professional installations.
Start with valleys if your roof has them. Valleys channel a lot of water, so they need extra protection. We recommend using metal valley flashing or woven/cut valley methods depending on your roof design. For low-slope roofs, closed-cut valleys with ice and water barrier underneath provide the best protection.
Roof penetrations like plumbing vents require pipe boots, rubber or metal flanges that seal around the pipe. Install the boot by sliding it over the pipe and nailing the flange to the deck. Then shingle over the top and sides of the flange, leaving the bottom edge exposed so water flows over it. Seal the top edge with roofing cement.
For chimneys and walls, use step flashing, individual L-shaped pieces that interweave with shingles and tuck under the siding or counter-flashing. Each piece overlaps the one below it and is secured with a nail at the top corner. Cover each step flashing piece with the next shingle row as you work up the roof. Seal all flashing joints with roofing cement.
Skylight flashing kits usually come with the skylight and include detailed instructions. Follow them carefully, as improper skylight flashing is a leading cause of roof leaks. Use extra ice and water barrier around skylights on low-slope roofs.
Don't forget the ridge. Cap shingles along the ridge and hips provide the final seal. Cut cap shingles from full shingles or use factory-made ridge caps. Install them starting from the end opposite the prevailing wind, overlapping each shingle as you work along the ridge. Nail each cap shingle on both sides, just below the adhesive strip where the next cap will cover the nails.
Common Mistakes to Avoid
We've seen plenty of shingle installations go wrong, and most failures come down to a handful of repeated mistakes. Learning from others' errors saves you time, money, and frustration.
The biggest mistake? Installing shingles on a roof that's too flat. If your roof doesn't meet the 2:12 minimum pitch (or 3:12 for most manufacturers), stop and choose a different roofing material. No amount of careful installation will overcome inadequate slope. The roof will leak, and you'll have to tear it off and start over with the right system.
Insufficient underlayment is another common problem. Some installers skimp on ice and water barrier because it's expensive, but on low-slope roofs, this product is your primary defense against leaks. Cover all eaves, valleys, rakes, and penetrations completely. Don't leave gaps or try to stretch the material to save money.
Improper nailing ruins more roofs than you'd expect. Overdriven nails tear through shingles and create leak points. Underdriven nails don't hold shingles down and lead to blow-offs. Nails placed outside the nail zone don't secure the shingle below and may be exposed to weather. Use the right number of nails in the right locations, driven to the correct depth.
Poor flashing installation is another leak culprit. Flashing must be layered correctly with shingles so water flows over each piece and never gets a chance to run underneath. Step flashing goes under the siding and over the shingles. Valley flashing goes under everything. Pipe boot flanges go under shingles above and over shingles below. Get the layering wrong, and water finds its way in.
Finally, don't rush the job. Roofing in extreme heat causes shingles to become too soft and tear easily. Roofing in cold weather prevents the adhesive strips from sealing properly. Plan your installation for moderate temperatures, between 50°F and 85°F is ideal. If you must work in less-than-ideal conditions, take extra precautions like hand-sealing tabs.
Maintenance Tips for Shingled Flat Roofs
A properly installed low-slope shingle roof still needs regular maintenance to reach its full lifespan. Because these roofs face more stress than their steeper counterparts, vigilant upkeep makes a difference.
Inspect your roof at least twice a year, spring and fall are ideal times. Walk the roof carefully (if it's safe to do so) or use binoculars from the ground to check for damaged, lifted, or missing shingles. Look for curling edges, cracks, or areas where granules have worn away. Catch small problems early before they turn into leaks.
After severe weather, high winds, hail, or heavy snow, do an extra inspection. Even minor storms can lift shingle tabs on low-slope roofs, especially if the adhesive hasn't fully bonded yet on newer installations. Replace damaged shingles promptly.
Keep the roof clear of debris. Leaves, branches, and dirt trap moisture and prevent water from draining properly. This standing water accelerates shingle deterioration and can lead to leaks. Sweep or blow off debris regularly, especially after storms and in the fall when leaves accumulate.
Clean your gutters and downspouts to ensure proper drainage. Clogged gutters cause water to back up under the shingles along the eaves, leading to rot and leaks. On low-slope roofs where drainage is already slower, this backup happens more quickly.
Trim overhanging tree branches to reduce debris and prevent damage from falling limbs. Branches that scrape against shingles during windy days wear away the protective granules and shorten the roof's life.
Check flashing and sealants during your inspections. Roofing cement can dry out and crack over time, especially around chimneys, vents, and skylights. Reapply sealant as needed to maintain watertight seals. Metal flashing should be secure and flat, any lifted corners or edges need to be re-nailed and sealed.
If you notice signs of leaks inside, water stains, mold, or dampness, address them immediately. Track down the source and make repairs before water damage spreads to the structure. On low-slope roofs, water can travel horizontally before dripping through the ceiling, so the leak location inside may be several feet away from the actual roof failure.
Conclusion
Installing shingles on a flat roof is possible, but only when your roof meets the minimum slope requirements and you follow the right procedures. Remember that asphalt shingles are designed for roofs with at least a 2:12 pitch, and 3:12 is better. If your roof is truly flat or below these minimums, choose a membrane system instead, trying to make shingles work on inadequate slope is a recipe for failure.
When your low-slope roof does qualify for shingles, success comes down to details: proper underlayment with plenty of ice and water barrier, correct nailing with six fasteners per shingle, careful flashing at all transitions and penetrations, and attention to sealing critical areas. These aren't suggestions, they're requirements for a watertight installation that will last.
Don't forget that low-slope shingle roofs need more maintenance than steep ones. Regular inspections, debris removal, and quick repairs keep small problems from becoming big headaches. Factor in the shorter lifespan and extra maintenance when deciding whether shingles are the right choice for your roof.
If you're unsure about your roof's pitch, the condition of your deck, or any part of the installation process, consult with a roofing professional. A few hundred dollars for an expert assessment can save you thousands in failed installations and water damage repairs. Roofing is one area where getting it right the first time pays off.
Can you install shingles on a flat roof?
You can only install asphalt shingles on roofs with at least a 2:12 pitch, meaning the roof rises 2 inches per 12 inches horizontally. Truly flat roofs require membrane systems or rolled roofing instead, as shingles need slope to shed water properly.
What is the minimum slope required for shingle installation on a flat roof?
The minimum slope for shingle installation is 2:12, though most professionals recommend 3:12 for optimal performance. Below this pitch, water doesn't drain properly and will leak under shingles, requiring membrane roofing systems instead.
How many nails per shingle should I use on a low-slope roof?
Use six nails per shingle on low-slope roofs between 2:12 and 4:12 pitch, even if standard installation calls for four. The extra nails prevent blow-offs and ensure proper sealing in slower-draining conditions.
What type of underlayment is best for low-slope shingle roofs?
Ice and water barrier membrane is critical for low-slope roofs, extending at least 36 inches from the eaves and covering all vulnerable areas. Synthetic or felt underlayment should cover the entire deck over the ice barrier.
How long do shingles last on a low-slope roof?
Shingles on low-slope roofs typically have shorter lifespans than on steeper pitches due to slower drainage and prolonged moisture exposure. The constant stress accelerates wear, requiring earlier replacement than standard steep-roof installations.
What happens if I install shingles below the minimum pitch?
Installing shingles below the 2:12 minimum pitch causes water to pool rather than drain, leading to leaks through nail holes and under shingles. This voids warranties and results in premature failure requiring costly tear-off and replacement.