How to Slope a Flat Roof: Professional Methods for Proper Drainage
We've all heard that flat roofs aren't truly flat - and for good reason. When it's time to slope a flat roof, getting the angle right can mean the difference between proper drainage and costly water damage. While the process might seem straightforward, there's more to creating the perfect pitch than meets the eye.
Whether you're dealing with ponding water or planning a new installation, understanding roof slope fundamentals is crucial. We'll explore the techniques professionals use to achieve optimal drainage without compromising your roof's integrity. From calculating the right pitch to choosing materials that work with your building's structure, there are several factors that determine success.
The methods we'll share have helped countless property owners solve their drainage problems effectively. Let's jump into what really works when creating that essential slope.
Understanding Flat Roof Slope Requirements
Flat roofs require specific slopes to function properly even though their name suggesting a completely level surface. We recognize that proper slope calculations prevent water accumulation and structural damage while extending the roof's lifespan.
Minimum Slope Standards
The International Building Code (IBC) mandates a minimum slope of 1/4 inch per foot (2% grade) for flat roofs. This translates to a 2-inch rise for every 8 feet of horizontal distance. Commercial buildings often follow ASTM standards requiring similar gradients.
We measure slope using these common methods:
- Rise-over-run calculations (1:48 ratio minimum)
- Percentage grades (2% minimum)
- Degrees of angle (1.19 degrees minimum)
Different roofing materials demand varying slopes:
| Material Type | Minimum Slope | Recommended Slope |
|---|---|---|
| Built-up roofing | 1/4" per foot | 1/2" per foot |
| Modified bitumen | 1/4" per foot | 1/2" per foot |
| Single-ply membrane | 1/4" per foot | 1/2" per foot |
| Liquid-applied | 1/8" per foot | 1/2" per foot |
Property owners achieve better drainage with slopes between 1/2 inch to 1 inch per foot. These steeper angles reduce ponding risks and improve water flow toward drains or scuppers.
Building Code Regulations
Local building codes establish specific requirements for flat roof slopes that vary by region and climate. The 2021 International Building Code Section 1507 provides baseline standards adopted by most U.S. jurisdictions.
Key regulatory requirements include:
- Positive drainage within 48 hours after rainfall
- Secondary drainage systems for roofs over 10,000 square feet
- Overflow scuppers positioned 2 inches above primary drains
- Tapered insulation systems meeting R-value requirements
We comply with these inspection checkpoints:
- Pre-installation substrate verification
- Mid-project slope confirmation
- Final drainage performance testing
- Documentation of materials and methods
We comply with these inspection checkpoints:
| Climate Zone | Additional Requirements |
|---|---|
| High rainfall areas | 3/8" minimum slope |
| Snow-prone regions | Structural load calculations |
| Hurricane zones | Wind uplift resistance ratings |
| Desert climates | UV resistance standards |
Permits require detailed slope calculations and drainage plans before construction begins. Inspectors verify compliance through digital levels and water testing during final approval processes.
Common Methods to Slope a Flat Roof

We'll explore three proven methods professionals use to create proper drainage on flat roofs. Each technique offers distinct advantages depending on your building's structure, budget and timeline.
Tapered Insulation Systems
Tapered insulation creates slope using rigid foam panels cut to varying thicknesses. We install these panels to achieve a gradual incline of 1/4 inch per foot toward drainage points. The system combines two benefits: proper water flow and enhanced thermal insulation.
Professional contractors design custom layouts that accommodate roof features like drains, skylights and HVAC units. We add small sloped elements called crickets and saddles around obstructions to prevent water pooling. Crickets divert water around chimneys while saddles channel flow between drain points.
The foam panels range from 1/2 inch to 12 inches thick. We arrange them in a pattern that creates consistent slope across the entire roof surface. Installation typically takes 2-3 days for a 5,000 square foot commercial roof.
This method extends roof life by eliminating standing water. Energy savings from improved insulation often offset installation costs within 5-7 years. Most manufacturers offer 20-year warranties on tapered insulation systems.
Structural Sloping
Structural sloping involves building the roof deck at an angle during construction. We frame the substrate to create natural drainage without adding surface materials. This permanent solution works best for new buildings or complete roof replacements.
Contractors adjust joist heights or use angled supports to achieve the required pitch. The slope becomes part of the building's structure rather than an added component. We calculate load distributions carefully to maintain structural integrity while creating proper drainage angles.
Installation costs exceed other methods by 30-50% due to additional framing materials and labor. The process requires 4-6 weeks for proper implementation on average commercial projects. Building codes mandate engineering reviews for structural modifications.
Long-term maintenance costs decrease significantly with structural sloping. The integrated design eliminates concerns about insulation compression or overlay failure. Property owners appreciate the 50+ year lifespan of properly executed structural slopes.
Overlay Systems
Overlay systems add sloped materials on top of existing flat roofs. We apply varying thicknesses of underlayment or install angled pavers to create drainage paths. This retrofit option works well for buildings that can't support major structural changes.
Common overlay materials include modified bitumen, EPDM rubber and thermoplastic membranes. We build up layers strategically, creating thicker sections where more slope is needed. The process preserves existing roof structures while improving water management.
Installation takes 1-2 weeks depending on roof size and complexity. Costs remain 40-60% lower than structural modifications. We coordinate overlay installation with existing drainage systems to maximize effectiveness.
Weight limitations restrict overlay thickness to 2-3 inches maximum. Regular inspections every 5 years ensure overlays maintain proper adhesion and slope integrity. Most overlay systems last 15-20 years with proper maintenance.
Planning Your Flat Roof Slope Project
Proper planning forms the foundation of any successful flat roof slope project. We start by assessing the current roof condition and establishing clear drainage goals before selecting the appropriate sloping method.
Calculating Proper Drainage
We calculate drainage requirements based on the roof's square footage and local rainfall patterns. The standard slope ranges from 1/8 inch to 1/4 inch per foot, which equals approximately 2% grade. This calculation ensures water flows toward designated drainage points within 48 hours after rainfall.
For a 1,000 square foot roof section, we determine the high point and low point elevations. A 20-foot span requires a 5-inch height difference when using the 1/4 inch per foot standard. Larger roofs in heavy rainfall regions benefit from slopes up to 1/2 inch per foot for faster drainage.
We position drainage outlets strategically based on these calculations. Internal drains connect to the building's plumbing system, while scuppers and gutters direct water away from the foundation. Each 100 square feet of roof surface typically requires one square inch of drainage outlet area.
Building codes specify minimum outlet sizes based on roof area and rainfall intensity. We verify our calculations meet these requirements before finalizing the drainage plan.
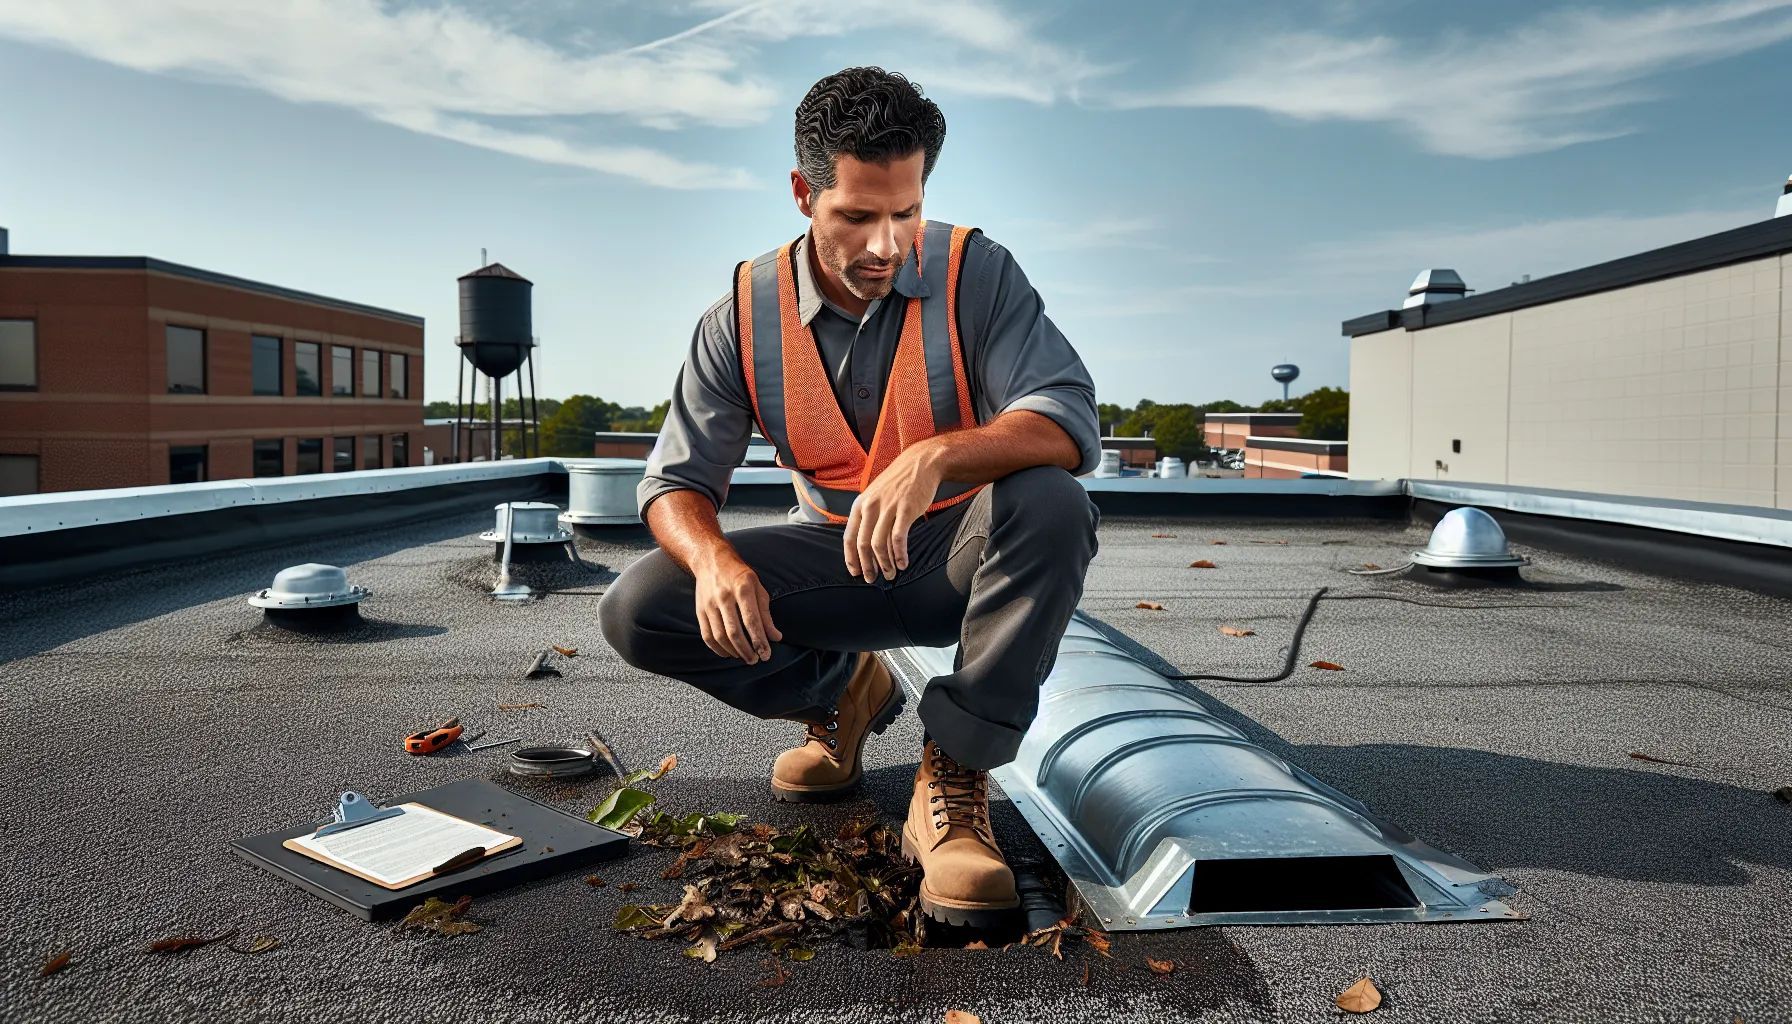
Identifying Low Spots and Problem Areas
We conduct a thorough inspection to locate areas where water accumulates on the existing roof surface. These low spots appear as discolored patches, dried sediment rings, or visible depressions after rainfall. Each problem area receives a marking for targeted correction during the sloping process.
Common problem areas include sections near HVAC units, skylights, and roof penetrations. We measure the depth of each low spot using a straightedge and ruler. Depressions exceeding 1/2 inch require additional attention during slope correction.
We document cracks, damaged flashing, and deteriorated roofing material around these low spots. These defects often contribute to water infiltration and structural damage. Our inspection includes checking existing drainage components for clogs or damage that impede proper water flow.
Problem areas near parapet walls and roof edges receive special attention. Water trapped in these locations causes accelerated deterioration of roofing materials and potential leaks into the building interior. We create a detailed map showing all identified issues for reference during the slope installation process.
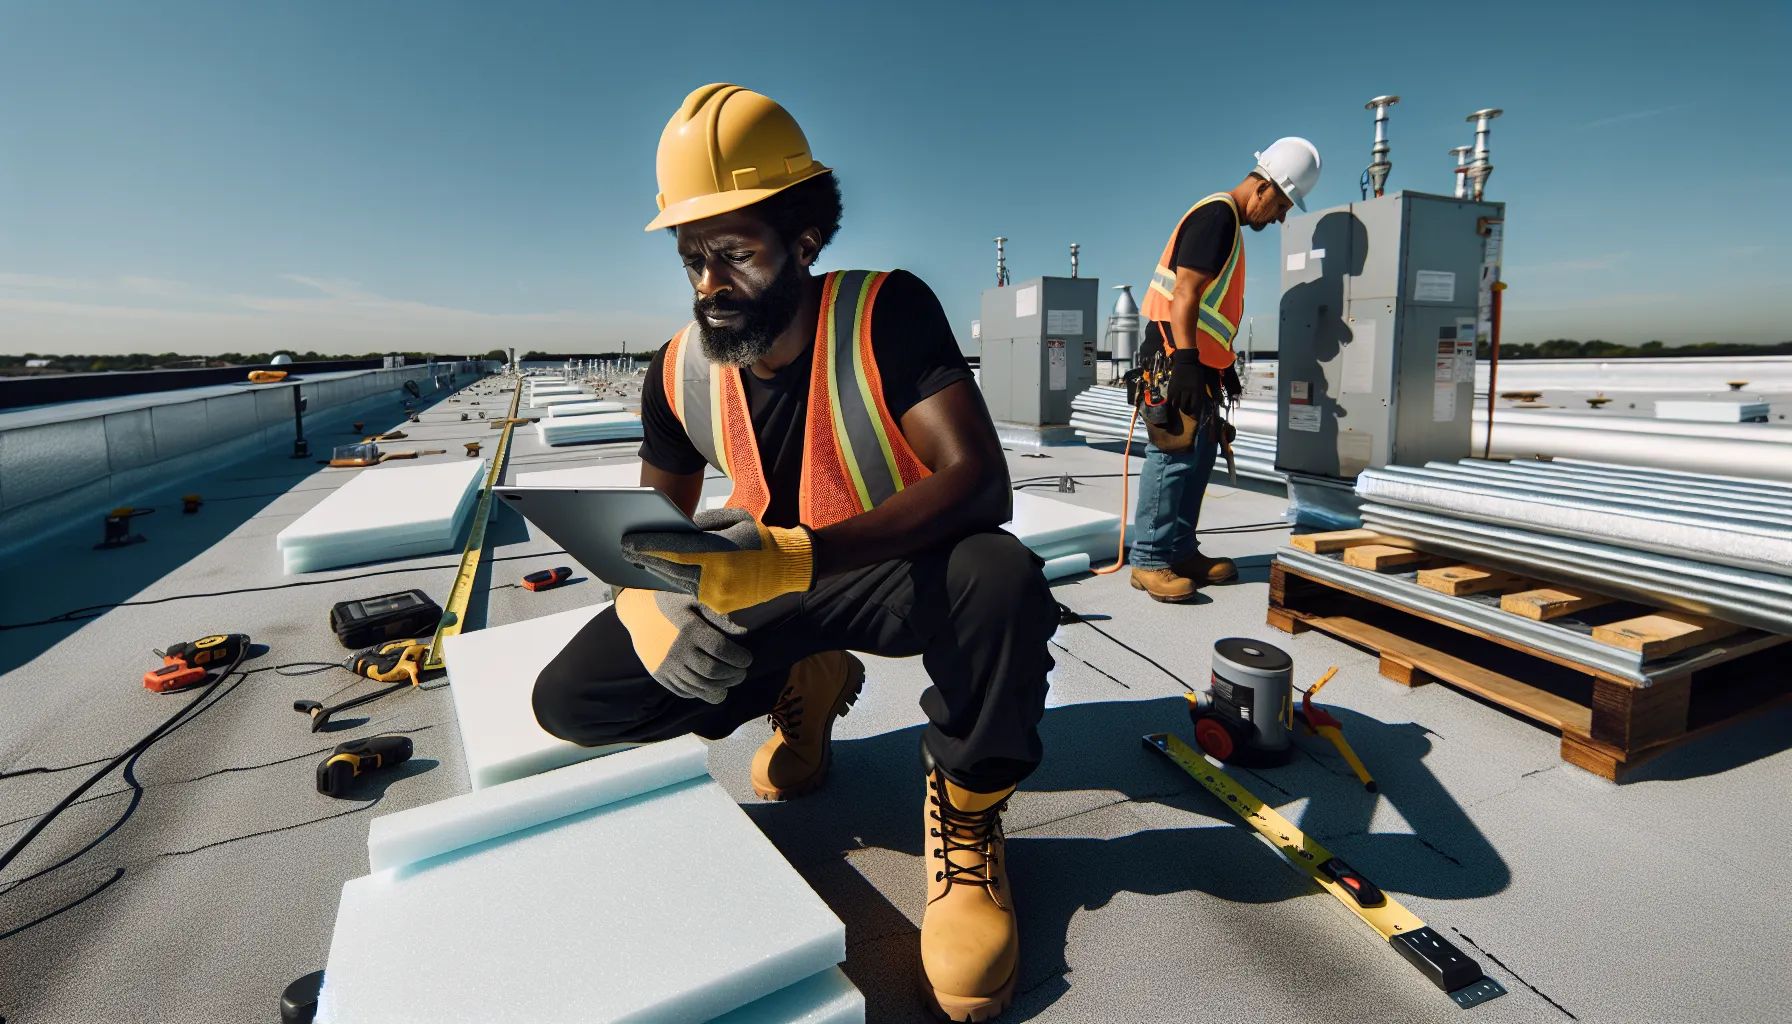
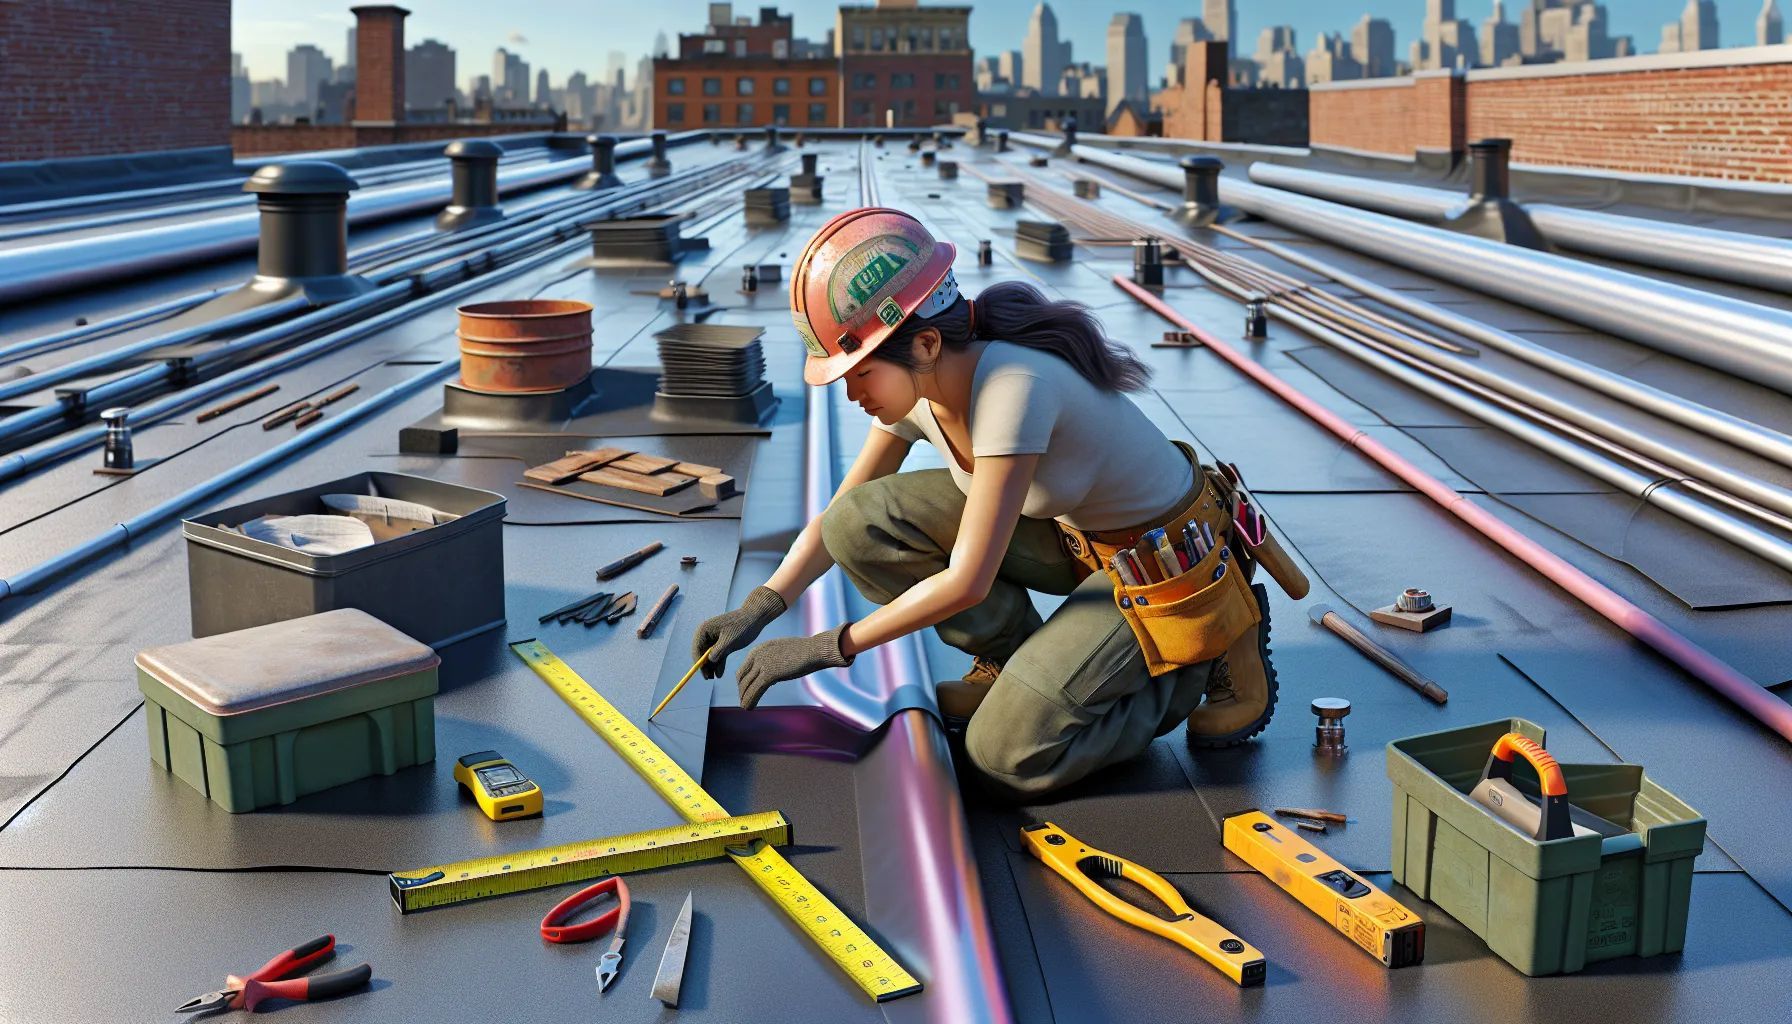
Installation Process and Best Practices
Installing proper slope on flat roofs requires precise execution of specific steps to ensure effective water drainage. We follow established industry standards that create reliable drainage systems while maintaining roof integrity.
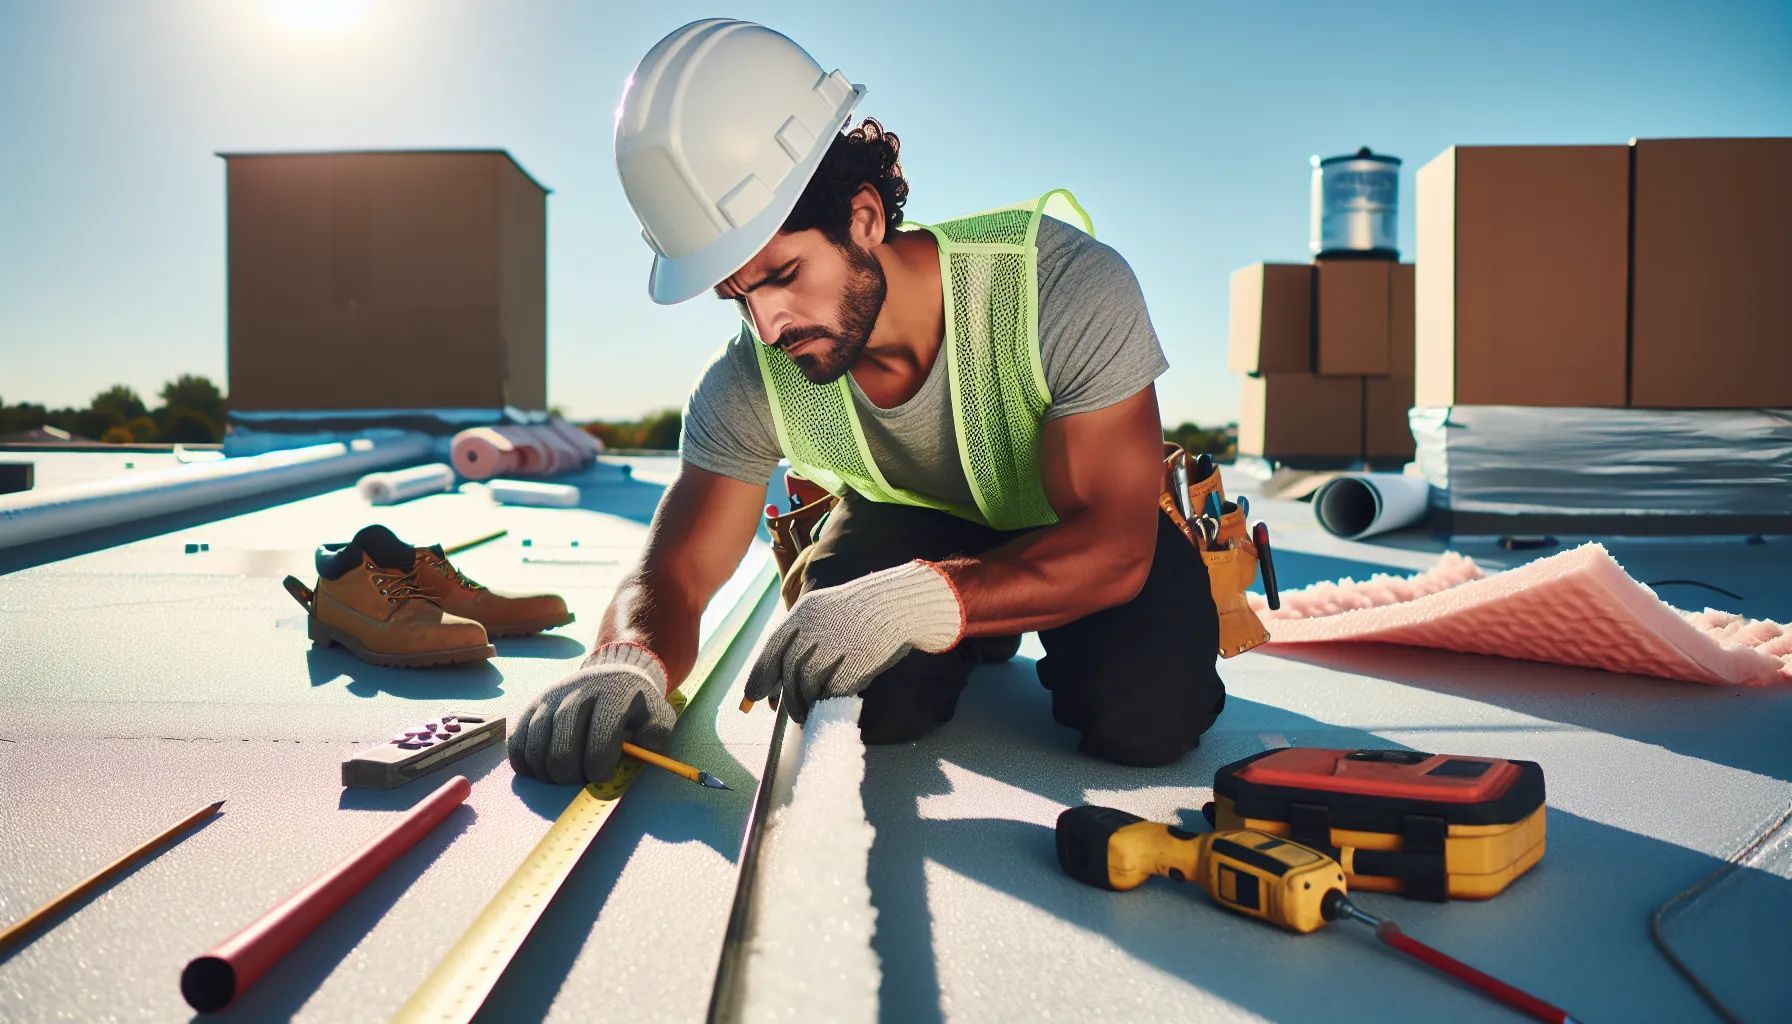
Surface Preparation
We start surface preparation by inspecting the existing roof structure for damage or weak spots. Our team removes debris and cleans the entire surface area to ensure proper adhesion of new materials. We repair any cracks or holes in the deck using appropriate patching compounds.
The roof deck receives a thorough cleaning with pressure washing or sweeping to eliminate dust and loose particles. We check moisture levels across the surface using moisture meters to identify wet areas that need drying. Areas with moisture content above 20% require additional drying time before installation proceeds.
We install vapor barriers on concrete decks to prevent moisture migration from below. The barriers overlap by 6 inches at seams and extend up parapet walls by 8 inches minimum. We secure edges with termination bars and sealant to create watertight connections.
Our crews mark drainage points including gutters and scuppers on the roof surface. These marks guide the tapered insulation layout and ensure water flows toward designated outlets. We measure distances from high points to drainage areas to verify proper slope calculations.
Material Selection
We select tapered polyisocyanurate insulation boards for most flat roof slope projects due to their thermal efficiency and compatibility with various membrane systems. These boards come in thickness variations from 1/2 inch to 4 inches, allowing precise slope creation. Standard panels measure 4 feet by 8 feet for easier handling and installation.
Single-ply membranes work best with tapered insulation systems, including TPO (Thermoplastic Polyolefin) and EPDM (Ethylene Propylene Diene Monomer). TPO membranes offer heat-welded seams that create strong waterproof bonds. EPDM provides excellent weather resistance and flexibility for temperature changes.
We choose fasteners based on deck type and insulation thickness. Steel decks require #12 fasteners with 3-inch minimum plates. Wood decks use #14 fasteners with appropriate length to penetrate 3/4 inch into the substrate. Fastener patterns follow manufacturer specifications, typically 12 inches on center in field areas.
Adhesives and sealants match the membrane type for chemical compatibility. We use water-based adhesives for EPDM and solvent-based products for TPO applications. Sealant selection includes polyurethane or silicone formulations rated for 20-year service life.
Professional vs. DIY Considerations
Professional installation ensures compliance with International Building Code requirements for minimum 1/4 inch per foot slope. Our certified installers use laser levels and precision measuring tools to achieve accurate slopes across the entire roof surface. We calculate custom taper plans that direct water efficiently to multiple drainage points on complex roof layouts.
DIY attempts often result in inadequate slope due to incorrect calculations or improper material installation. Homeowners typically lack specialized tools like infrared cameras for detecting moisture or torque wrenches for proper fastener installation. Minor errors in slope design create ponding areas that accelerate roof deterioration.
Professional contractors carry liability insurance and provide warranties covering both materials and workmanship. We guarantee our slope installations meet manufacturer specifications for 10 to 20 year warranty coverage. Our teams complete typical residential projects in 2-3 days compared to weeks for DIY attempts.
Cost comparisons show professional installation ranges from $3.50 to $7.00 per square foot including materials and labor. DIY material costs average $2.00 to $4.00 per square foot but exclude tool rentals and potential repair costs from installation errors. Professional work includes proper disposal of old materials following environmental regulations.
Cost Factors and Budget Considerations
Flat roof slope projects involve multiple cost variables that directly impact your total investment. We've analyzed pricing data from thousands of projects to help you understand what affects your budget.
Material Costs by System Type
Tapered insulation systems cost $3.50 to $6.00 per square foot for materials alone. Single-ply membrane materials like TPO or EPDM add $1.50 to $3.00 per square foot to your budget.
Built-up roofing (BUR) systems range from $4.00 to $7.00 per square foot. Modified bitumen materials cost $2.50 to $4.50 per square foot.
Metal roofing panels for sloped applications cost $7.00 to $12.00 per square foot. These prices exclude labor and additional components.
Labor and Installation Expenses
Professional installation adds $2.00 to $4.00 per square foot to material costs. Complex slope modifications increase labor costs by 25% to 40%.
Certified roofing contractors charge $50 to $90 per hour depending on regional rates. A 2,000-square-foot flat roof slope project typically requires 40 to 60 labor hours.
Emergency repairs or rush jobs increase labor rates by 50% to 100%. Weekend or holiday work carries premium charges.
Additional Project Components
Drainage system upgrades cost $500 to $1,500 per drain installation. Gutters and downspouts add $5 to $15 per linear foot.
Roof edge modifications range from $10 to $25 per linear foot. Cricket installations around penetrations cost $200 to $500 each.
Insulation upgrades to meet R-value requirements add $1.00 to $2.50 per square foot. Vapor barriers cost an additional $0.50 to $1.00 per square foot.
Regional Price Variations
Northeast markets charge 15% to 25% above national averages. Southern states typically cost 5% to 10% below average rates.
Urban areas command 20% to 30% higher prices than rural locations. Coastal regions face 10% to 20% premium charges due to climate considerations.
Local building permit fees range from $200 to $2,000 based on project scope. Inspection costs add $150 to $500 to your budget.
Cost Comparison Table
| Roofing System | Material Cost/sq ft | Labor Cost/sq ft | Total Cost/sq ft |
|---|---|---|---|
| Tapered Insulation + TPO | $5.00-$9.00 | $2.00-$4.00 | $7.00-$13.00 |
| BUR with Slope | $4.00-$7.00 | $2.50-$4.50 | $6.50-$11.50 |
| Modified Bitumen | $2.50-$4.50 | $2.00-$3.50 | $4.50-$8.00 |
| Metal Roof Retrofit | $7.00-$12.00 | $3.00-$5.00 | $10.00-$17.00 |
Budget Planning Strategies
Request detailed quotes from three to five contractors for accurate pricing. Compare itemized costs including materials, labor, permits, and warranties.
Budget an additional 10% to 15% for unexpected repairs discovered during installation. Set aside funds for potential structural modifications if inadequate slope exists.
Consider phased installation for large roofs to spread costs over multiple budget cycles. Prioritize high-risk areas with ponding water for immediate attention.
Long-term Cost Benefits
Proper slope installation reduces repair frequency by 40% to 60% over the roof's lifespan. Energy savings from improved insulation offset 15% to 25% of initial costs within five years.
Extended warranty coverage saves $5,000 to $15,000 in potential repair expenses. Prevented water damage eliminates costly interior repairs averaging $3,000 to $8,000 per incident.
Increased property value typically recovers 60% to 80% of slope improvement costs. Insurance premium reductions range from 5% to 15% annually with proper drainage documentation.
Maintenance After Sloping
Proper maintenance after sloping a flat roof ensures optimal drainage performance and extends the roof's lifespan. We recommend establishing a maintenance schedule that addresses specific areas requiring regular attention.
Regular Inspection Schedule
We inspect flat roofs twice yearly—during spring and fall—to identify potential issues before they escalate. Spring inspections focus on winter damage assessment while fall inspections prepare the roof for harsh weather conditions.
Post-storm inspections occur within 48 hours of severe weather events. We check for displaced materials, damaged flashing, and accumulated debris that might obstruct drainage paths.
Our inspection checklist includes examining roof surfaces for cracks, blisters, and punctures. We document each finding with photographs and measurements to track changes over time.
Drainage System Maintenance
Drainage components require monthly cleaning during fall when leaves accumulate rapidly. We remove debris from drains, scuppers, and gutters using specialized tools that prevent damage to roofing materials.
Water ponding indicates drainage problems requiring immediate attention. Standing water should drain completely within 48 hours after rainfall according to building code requirements.
We install drain guards and screens to minimize debris accumulation. These devices reduce maintenance frequency while maintaining efficient water flow throughout the drainage system.
Gutter realignment addresses sagging sections that develop over time. We adjust hangers and brackets to maintain the 1/4 inch per foot slope necessary for proper water movement.
Cleaning and Debris Removal
Monthly roof cleaning prevents organic growth and material degradation. We use soft-bristle brushes and approved cleaning solutions to remove dirt, algae, and moss without damaging the membrane.
Tree trimming reduces debris accumulation significantly. We maintain 10-foot clearance between branches and roof surfaces to minimize leaf deposits and prevent physical damage during storms.
Equipment placement affects debris patterns on flat roofs. We relocate or elevate HVAC units, pipes, and other rooftop equipment to help easier cleaning access and improve water flow.
Protective Coating Applications
UV-resistant coatings protect roofing materials from solar degradation. We apply acrylic or silicone coatings every 5 years, depending on manufacturer specifications and local climate conditions.
Surface preparation involves pressure washing at 1,500 PSI maximum to avoid membrane damage. We allow 24-48 hours drying time before coating application to ensure proper adhesion.
Temperature considerations affect coating performance. We schedule applications when temperatures remain between 50-85°F for optimal curing and longevity.
Conclusion
Properly sloping a flat roof transforms what could be a constant maintenance headache into a reliable roofing system that protects your investment for decades. We've seen firsthand how the right slope paired with quality materials and professional installation creates lasting drainage solutions that stand up to whatever weather comes our way.
The journey from understanding slope requirements to selecting the best method for your building sets the foundation for long-term success. Whether you're dealing with an existing structure or planning new construction, investing in proper slope now saves significant money and stress down the road.
Remember that every flat roof tells its own story through its unique challenges and requirements. By working with experienced professionals who understand local codes and climate conditions, you'll achieve results that exceed minimum standards and deliver maximum protection.
Your flat roof's slope isn't just about moving water – it's about creating a comprehensive system that works seamlessly with your building's design while providing peace of mind through every season.
What is the minimum slope requirement for flat roofs?
Flat roofs require a minimum slope of 1/4 inch per foot (2% grade) according to the International Building Code (IBC). This ensures proper drainage within 48 hours after rainfall. However, some roofing materials may require steeper slopes for optimal performance. Local building codes can vary based on climate and regional requirements, so always check with your local building department.
What are the main methods for sloping a flat roof?
The three primary methods are tapered insulation systems, structural sloping, and overlay systems. Tapered insulation uses rigid foam panels to create gradual inclines while improving thermal insulation. Structural sloping involves framing the roof deck at an angle during construction. Overlay systems retrofit existing roofs with sloped materials without major structural changes.
How much does it cost to slope a flat roof?
Costs vary significantly based on the method chosen, roof size, and regional pricing. Tapered insulation typically ranges from $3-8 per square foot, while structural sloping can cost $10-20 per square foot. Labor adds 40-60% to material costs. Additional expenses include drainage upgrades and potential repairs discovered during installation.
How often should I inspect my sloped flat roof?
Perform biannual inspections in spring and fall, plus additional checks after severe storms. Monthly visual inspections of drainage systems help catch debris buildup early. Professional inspections should occur annually, using advanced moisture detection technology. Regular maintenance prevents minor issues from becoming major problems and extends roof lifespan significantly.
What happens if my flat roof doesn't have proper slope?
Inadequate slope causes water ponding, leading to roof membrane deterioration, structural damage, and potential collapse. Standing water promotes algae growth, attracts insects, and voids manufacturer warranties. It also increases energy costs due to reduced insulation effectiveness and can cause interior water damage through leaks.