Painting Roof Tiles: A Complete Guide
Painting roof tiles can transform your home's appearance while adding years of protection to your roof. But here's what many homeowners don't realize: not all roof tiles are created equal when it comes to painting. Some tiles embrace paint beautifully, while others reject it entirely, leading to peeling, water damage, and wasted effort. We've learned through countless projects that understanding your tile type is the difference between a stunning, long-lasting finish and an expensive mistake. Whether you're looking to refresh faded concrete tiles or wondering if those clay tiles can handle a new coat, this guide walks you through everything from selecting the right materials to achieving professional results that last.
Before you even think about picking up a paint brush, we need to establish what type of tiles you're working with. This single factor determines whether painting is a smart investment or a recipe for disaster.
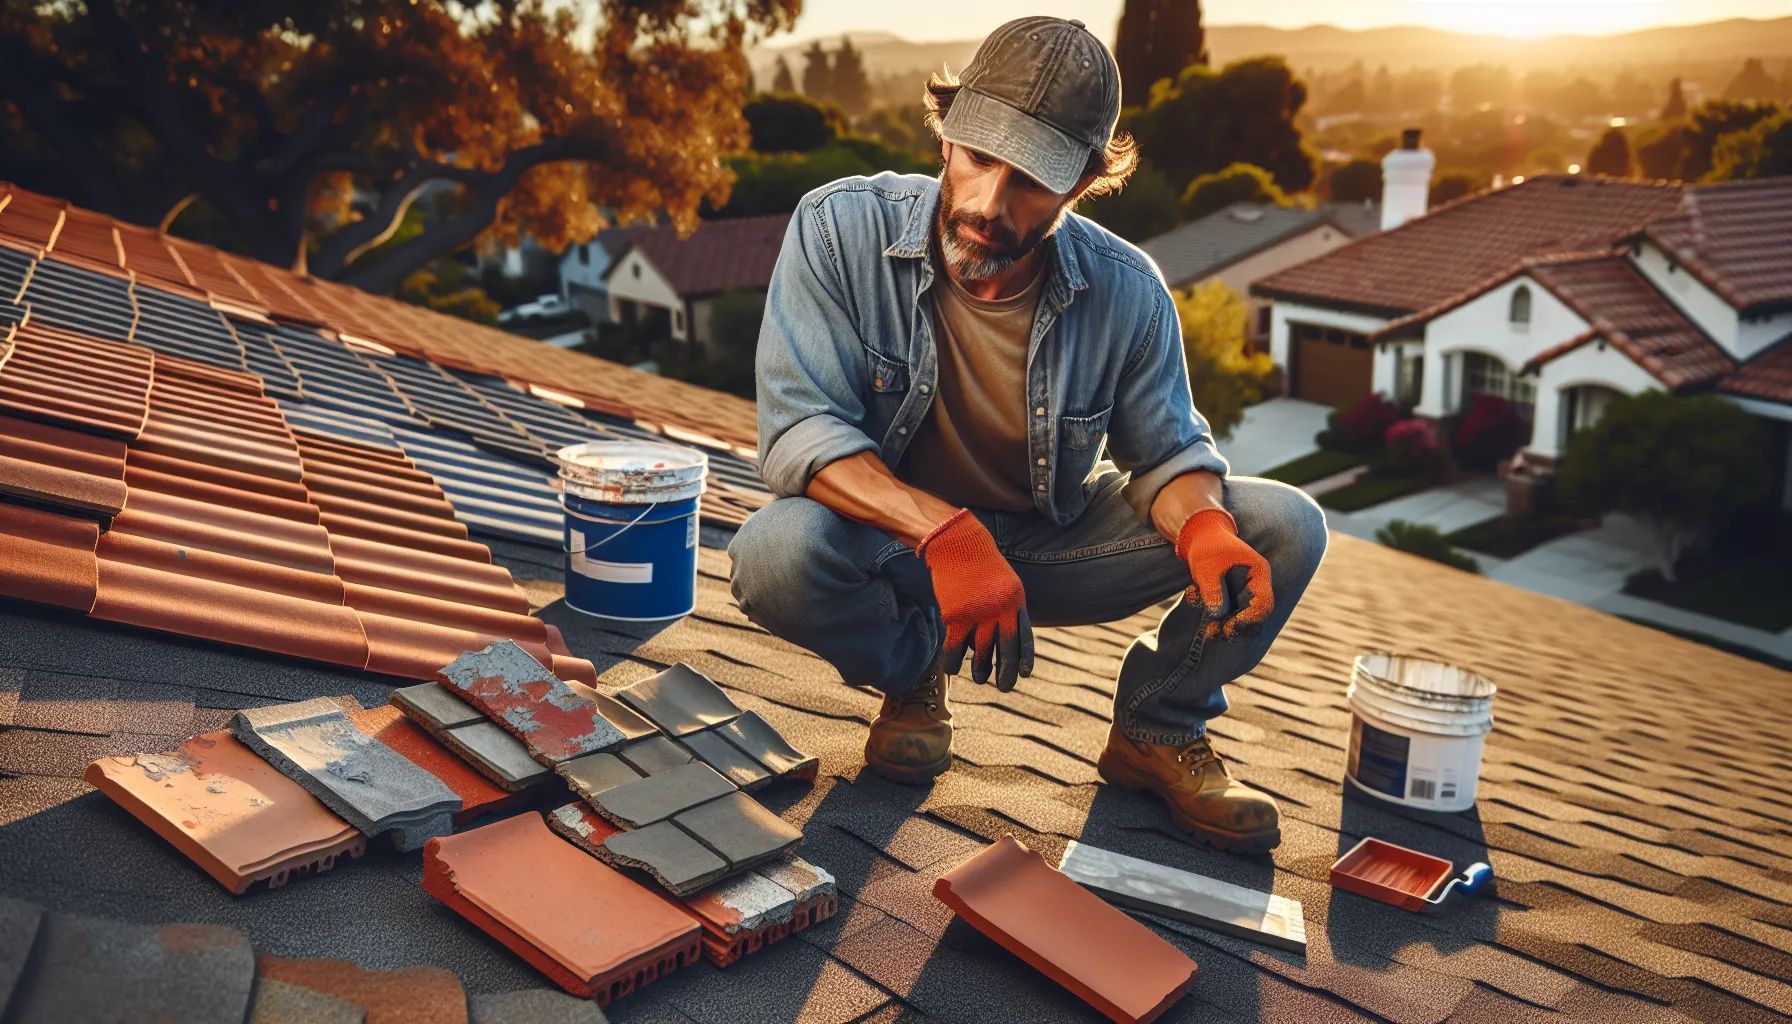
Clay And Terracotta Tiles
Clay and terracotta tiles present a unique challenge. These tiles are naturally porous, which means they absorb water like a sponge. When you apply paint to clay tiles, you're essentially trapping moisture inside. We've seen countless cases where painted clay tiles begin peeling within months, especially after heavy rain.
The glazed varieties are even trickier. That smooth, shiny surface might look perfect for painting, but it's actually your worst enemy. Paint simply won't stick properly to glazed surfaces, no matter how much primer you use. The result? Paint chips and flakes that make your roof look worse than before you started.
If you have clay or terracotta tiles and want a color change, replacement is honestly your best option. It costs more upfront, but you'll avoid the headaches and repeated expenses of failed paint jobs.
Concrete Tiles
Now we're talking. Concrete tiles are the ideal candidates for painting projects. These tiles have a slightly rough, porous surface that grabs onto primer and paint effectively. They're durable enough to handle the painting process without damage, and when properly painted, they can look brand new for years.
Concrete tiles also benefit significantly from painting beyond just aesthetics. The right coating adds an extra layer of protection against UV rays, moisture, and general wear. We've worked on concrete tile roofs that were 20 years old and looked terrible, but after proper painting, they gained another decade of life.
The key with concrete tiles is proper preparation. Even though they accept paint well, skipping prep work leads to uneven coverage and premature failure.
Slate And Natural Stone Tiles
Slate and natural stone tiles fall into a gray area. While technically possible to paint, we rarely recommend it. These materials have natural beauty that paint tends to mask rather than enhance. Plus, their smooth, dense surfaces don't hold paint well.
Natural stone tiles often have unique textures and color variations that give character to your roof. Painting over them eliminates these features. If your slate tiles have faded or you want a different look, consider professional cleaning and sealing instead. This approach preserves the natural material while refreshing its appearance.
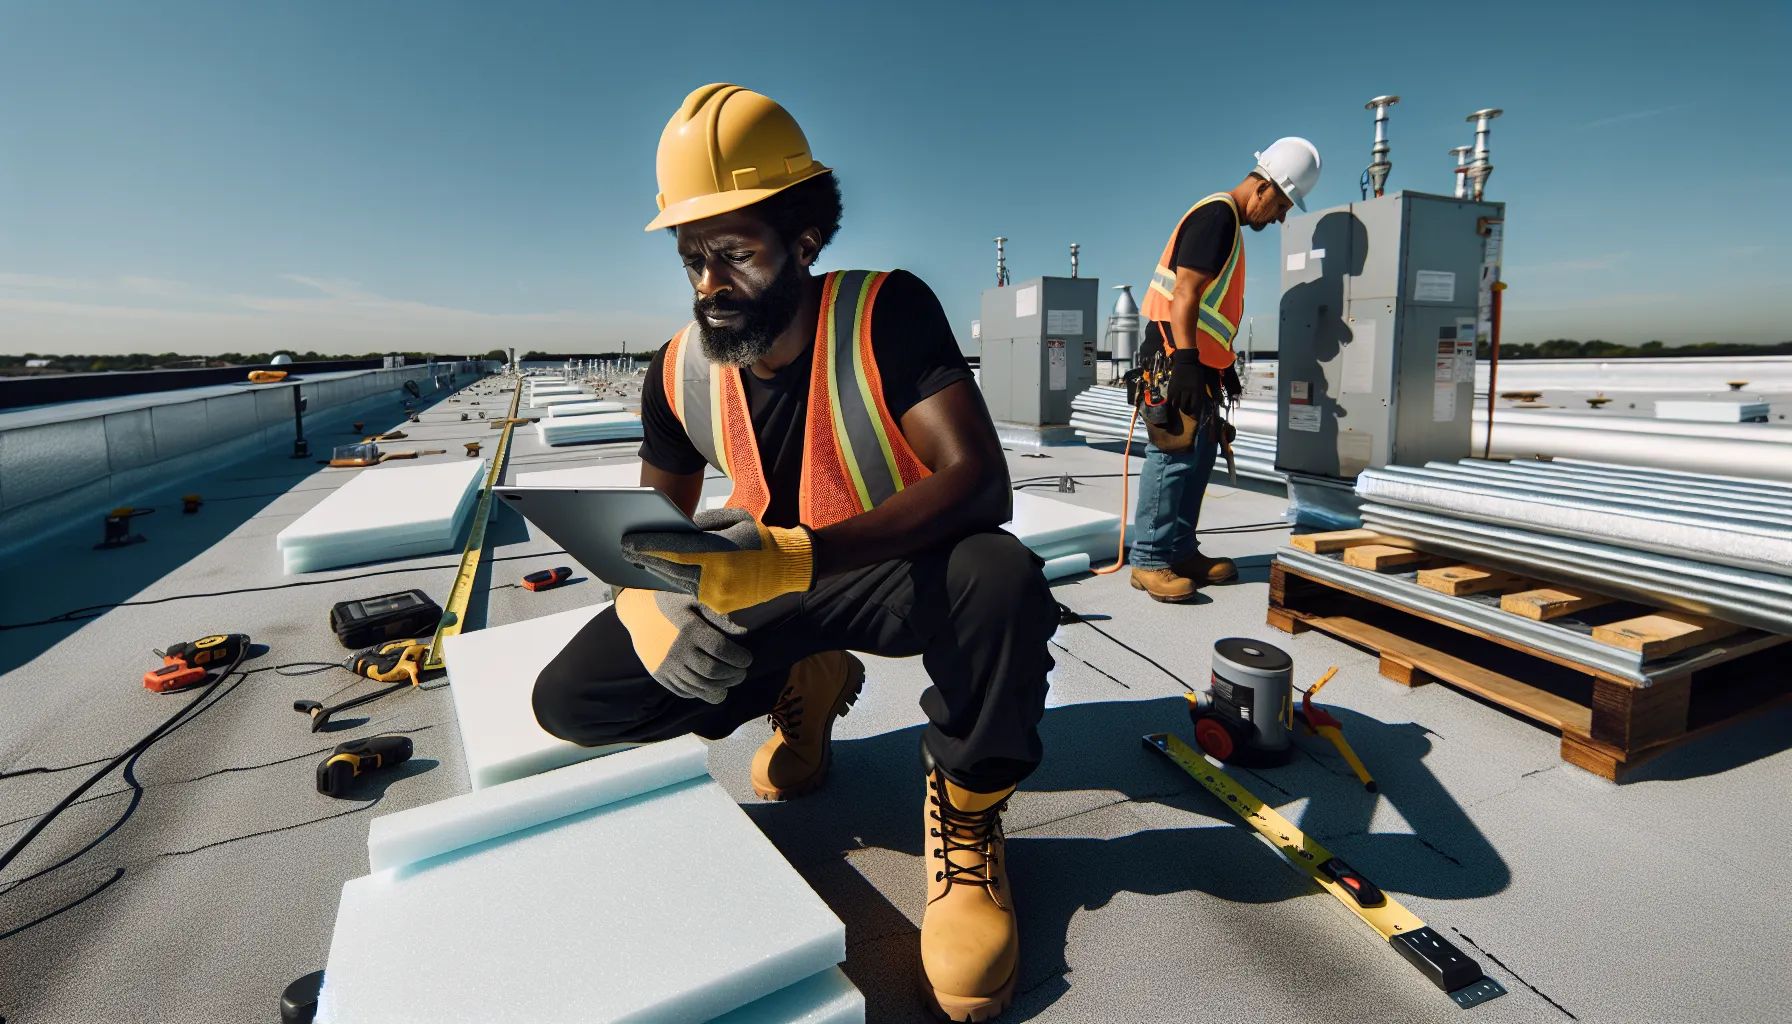
Essential Tools And Materials
Having the right equipment makes the difference between a professional-looking result and an amateur mess. We've refined our tool list over years of projects, and here's exactly what you need.
Cleaning Equipment
A high-pressure washer is non-negotiable. You need at least 3000 PSI to blast away years of accumulated dirt, moss, and algae. But here's a tip most guides miss: keep the nozzle at least 12 inches from the tiles. Getting too close can damage the surface or force water under tiles.
Alongside your pressure washer, grab a stiff-bristled scrub brush for stubborn spots. We prefer brushes with telescoping handles – they save your back and help you reach difficult areas safely. For cleaning solution, mild detergent works fine for general dirt, but biological growth requires something stronger. A mixture of water and oxygen bleach tackles moss and algae without damaging tiles or harming plants below.
Painting Supplies
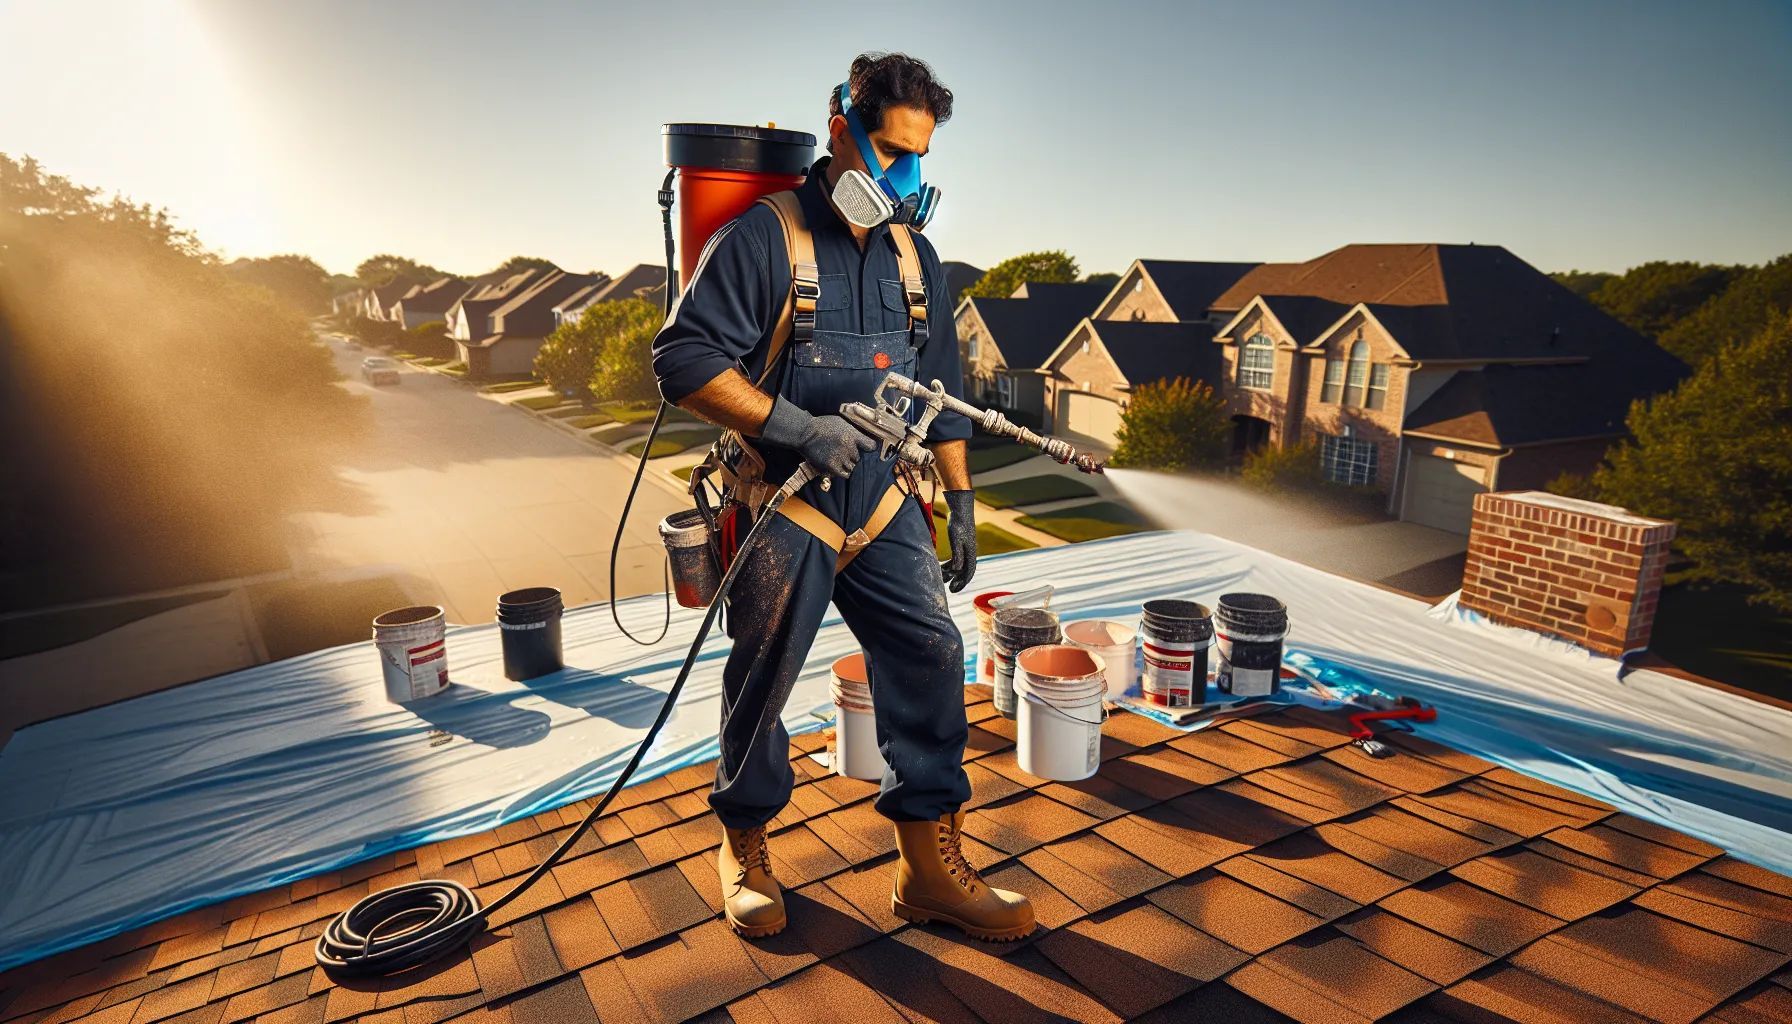
Forget about brushes and rollers for the main job – you want a sprayer. An airless sprayer gives the most consistent coverage, especially on textured concrete tiles. HVLP sprayers work too, though they're slower. We typically use airless sprayers for large areas and keep an HVLP handy for detail work around vents and edges.
Your primer choice is critical. Use a high-quality concrete primer specifically designed for exterior use. Generic primers won't bond properly with roof tiles. For the paint itself, invest in roof-specific acrylic or elastomeric paint. These formulations flex with temperature changes and resist UV damage far better than standard exterior paint.
Don't forget the small stuff: paint trays, roller covers (for touch-ups), painter's tape for protecting areas you don't want painted, and drop cloths to protect landscaping.
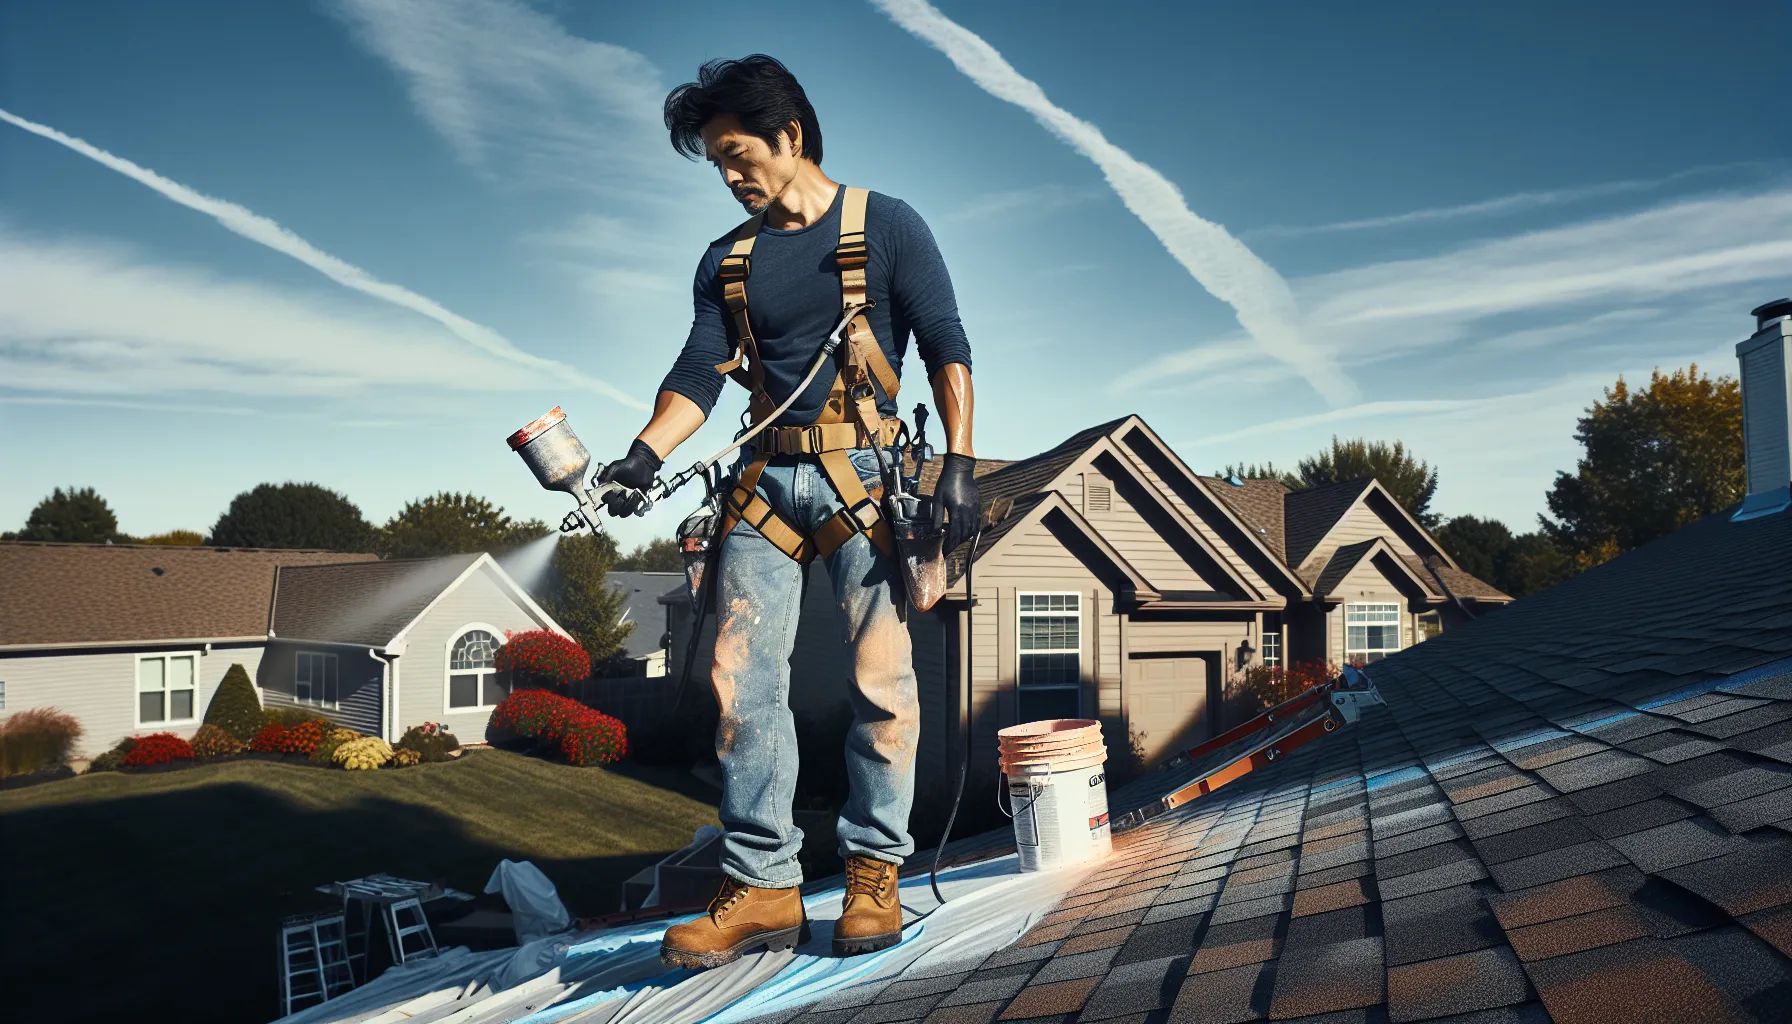
Safety Gear Requirements
Roof work is dangerous, and painting adds slippery surfaces to the mix. Non-slip shoes are essential – we recommend roofing boots with soft rubber soles that grip without damaging tiles. A safety harness isn't overkill: it's smart. Secure it to a solid anchor point and wear it throughout the project.
Protective equipment includes safety glasses (paint mist in your eyes is no joke), heavy-duty gloves that maintain grip when wet, and old clothes you don't mind ruining. If you're spraying, add a respirator to protect against paint fumes. Those paper dust masks aren't enough – get a proper respirator rated for paint vapors.
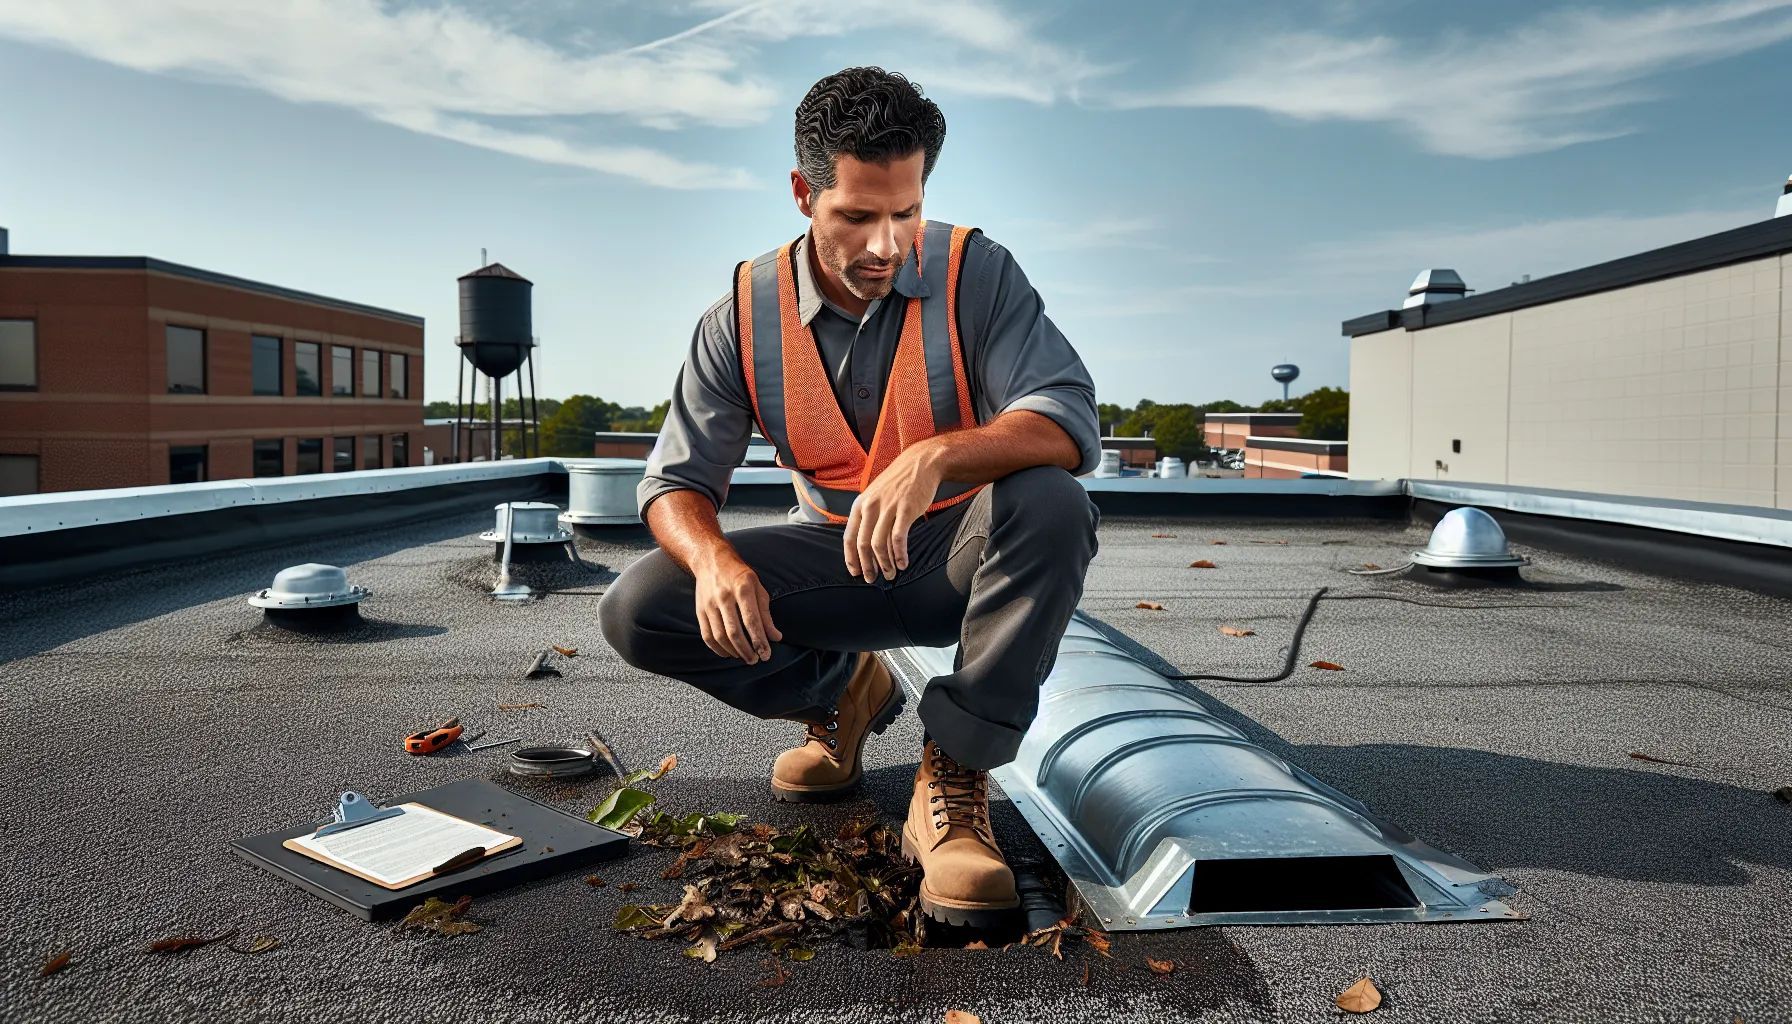
Preparing Your Roof For Painting
Preparation takes more time than actual painting, but it's where success is determined. Rush this stage, and you'll see problems within the first year.
Inspection And Damage Assessment
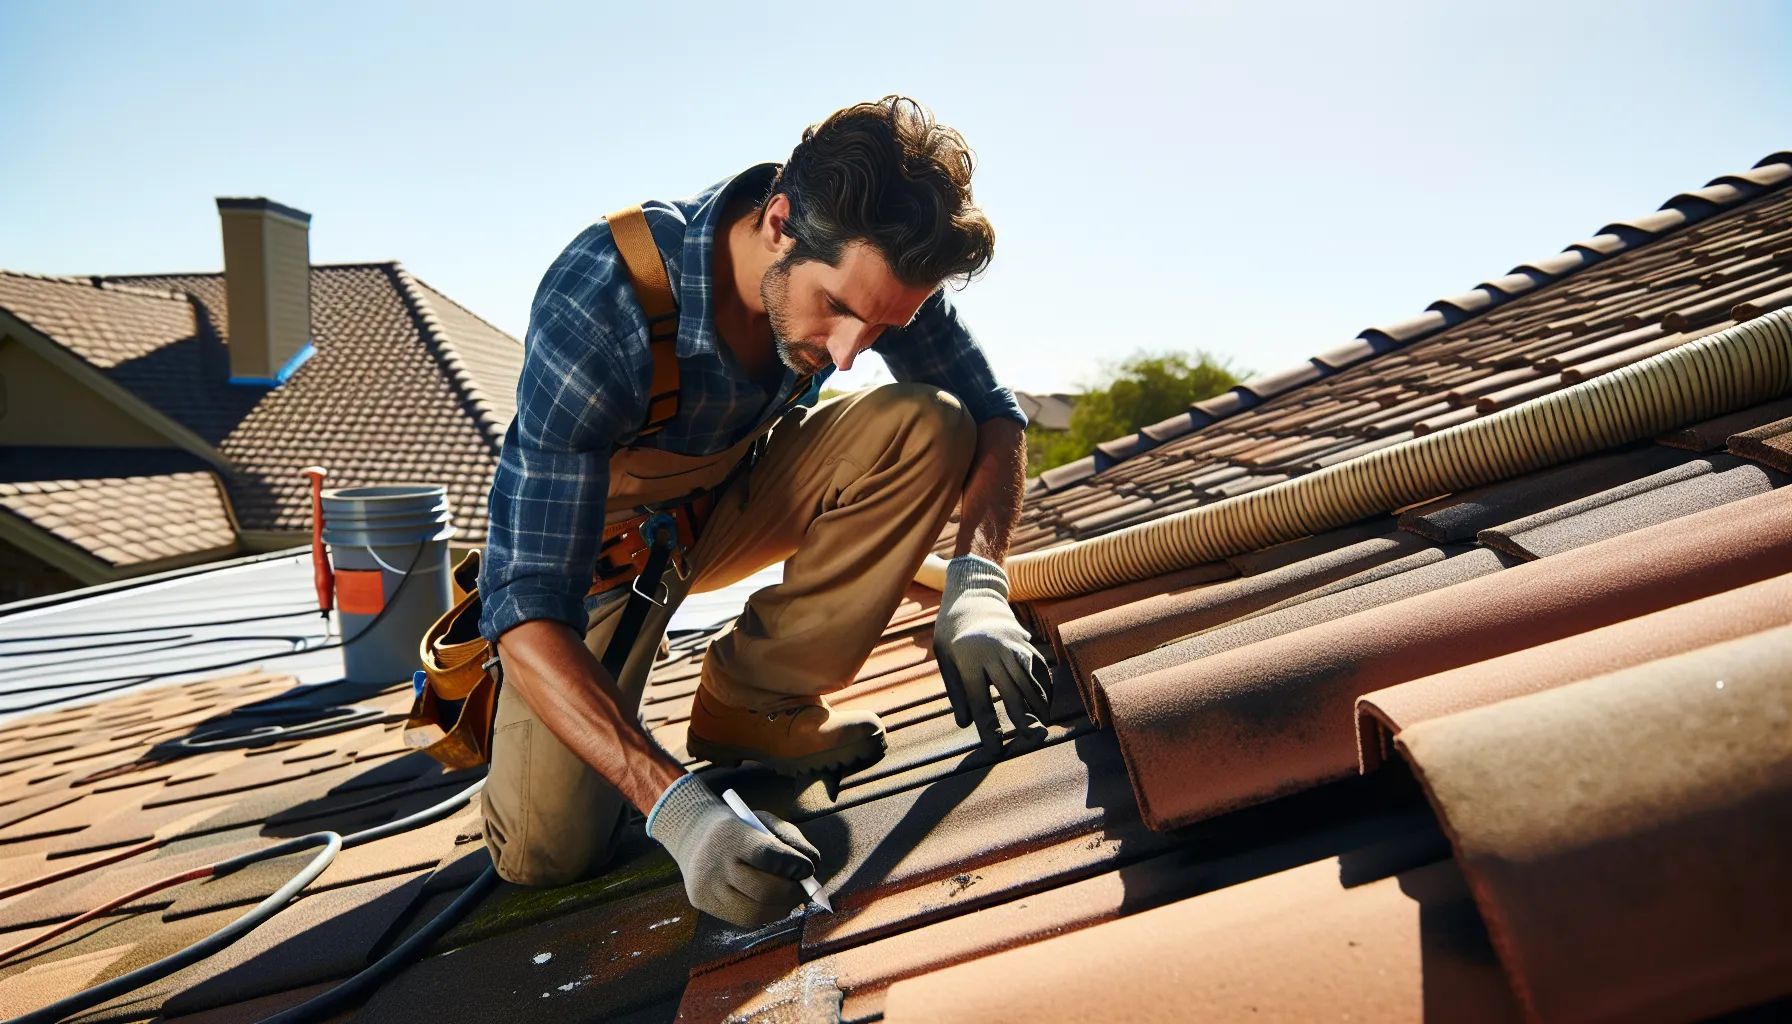
Start with a thorough walkthrough. Look for cracked tiles, loose sections, and areas where tiles have shifted. Mark damaged tiles with chalk – you'll need to fix these before painting. Small cracks can be sealed with roofing cement, but severely damaged tiles need replacement.
Check the underlayment where visible. If you spot tears or deterioration, address these issues first. Paint won't fix structural problems: it just hides them temporarily. We once had a client who insisted on painting over damage to save money. Six months later, they paid twice as much for repairs plus repainting.
Pay special attention to valleys, edges, and areas around penetrations like vents and chimneys. These spots collect debris and often hide damage. If you find extensive problems, consider getting a professional inspection before proceeding.
Cleaning And Surface Preparation
Cleaning isn't just about appearance – it's about creating a surface that paint can bond with. Start by removing loose debris with a broom or leaf blower. Then comes the deep clean with your pressure washer.
Work systematically from top to bottom, overlapping your passes slightly. The water should run clear by the time you finish an area. For biological growth, apply your cleaning solution first, let it sit for 15 minutes, then pressure wash. Stubborn moss might need manual scrubbing before the final rinse.
Here's something crucial: your roof must be completely dry before painting. We're talking bone dry, not just surface dry. Moisture trapped under paint causes bubbling and peeling. In humid climates, this might mean waiting 48-72 hours after cleaning. Use this time to make repairs and prepare your painting equipment.
During the drying period, cover nearby plants and outdoor furniture. Paint overspray travels farther than you think, especially on windy days.
Choosing The Right Paint
Paint selection makes or breaks your project. The cheapest option usually costs more in the long run when you're repainting sooner than expected.
Acrylic Roof Paint Options
High-quality acrylic paint designed for roofs offers the best balance of durability and cost. These paints form a flexible membrane that expands and contracts with temperature changes without cracking. Look for products with high solids content – at least 50%. The higher the solids, the better the coverage and longevity.
We prefer 100% acrylic formulations over acrylic blends. Pure acrylic costs more but lasts significantly longer. Expect to pay $30-50 per gallon for quality roof paint. Cheaper options might save $10-15 per gallon but often require additional coats and fail years earlier.
Color selection affects more than aesthetics. Light colors reflect heat, keeping your home cooler and reducing energy costs. Dark colors absorb heat, which can help in colder climates but may accelerate tile deterioration in hot areas. We've found that medium tones offer a good compromise – they look great while providing reasonable heat reflection.
Specialized Tile Coatings
Beyond standard acrylic paints, specialized roof coatings offer additional benefits. Elastomeric coatings create a thicker, rubber-like membrane that bridges small cracks and provides superior waterproofing. They cost more but can extend your roof's life by 10-15 years.
Some coatings include ceramic microspheres for enhanced heat reflection. Others incorporate fungicides and algaecides to prevent biological growth. In humid regions, these additives are worth the extra cost. We've seen treated roofs stay clean for years while untreated neighbors develop moss and algae within months.
Silicone-based coatings represent the premium option. They offer exceptional durability and weather resistance but cost significantly more than acrylics. For most residential projects, high-quality acrylic provides sufficient protection at a reasonable price point.
Step-By-Step Painting Process
With preparation complete and materials ready, it's time for the main event. Patience and technique matter more than speed here.
Applying Primer
Primer isn't optional – it's essential for paint adhesion and color uniformity. Choose a primer specifically formulated for concrete and masonry surfaces. Apply it on a calm, dry day with temperatures between 50-85°F.
Start spraying at the roof's highest point, working in sections about 10 feet square. Keep your sprayer moving steadily to avoid pooling. Overlap each pass by about 30% for even coverage. The primer should look uniform but not thick – you're sealing the surface, not waterproofing it.
Edges and detail areas need special attention. Switch to a brush or small roller for areas around vents, chimneys, and roof edges. These spots often get missed with sprayers, leading to premature paint failure. Take your time here: rushing detail work shows in the final result.
Let primer dry according to manufacturer specifications – usually 4-6 hours. But here's our rule: if it feels tacky at all, wait longer. Painting over incompletely dried primer causes adhesion problems that appear months later.
Paint Application Techniques
Paint application follows the same pattern as primer but requires more attention to coverage. Plan for at least two coats, possibly three for dramatic color changes.
Your first coat establishes the base. Spray in smooth, overlapping passes, maintaining consistent distance from the surface. Watch for drips and runs – they're easier to fix immediately than after drying. If you spot pooling, quickly spread it with a brush before moving on.
Wait for complete drying between coats. This usually takes 6-8 hours, but humidity extends drying time. The second coat provides color depth and additional protection. Apply it perpendicular to the first coat's direction when possible. This cross-hatching technique ensures complete coverage.
Work around obstacles carefully. It's tempting to blast paint everywhere and hope for the best, but overspray on skylights, solar panels, or metal fixtures creates cleanup nightmares. Mask these areas properly or brush paint manually near them.
Timing matters too. Start early in the day to avoid afternoon heat, which causes paint to dry too quickly and leaves brush marks or spray patterns visible. Evening painting risks dew formation before the paint dries.
Maintenance And Longevity
Your freshly painted roof looks fantastic, but maintaining that appearance requires ongoing care. Proper maintenance extends paint life from 5-7 years to 10-15 years.
Regular cleaning prevents biological growth from taking hold. We recommend annual roof inspections and cleaning. Use a garden hose with a spray attachment for light cleaning – save pressure washing for heavy buildup. Spot-treat moss or algae quickly before it spreads. A pump sprayer with diluted bleach solution handles small problem areas effectively.
Touch-ups address wear before it becomes widespread failure. Keep leftover paint for this purpose. Small chips or worn spots are easy fixes if caught early. Wait for dry weather, clean the affected area, apply primer if bare tile shows, then paint. These minor repairs prevent water infiltration that causes larger problems.
The paint itself provides significant benefits beyond appearance. Quality roof coatings reflect UV radiation, reducing heat transfer into your home. We've measured temperature reductions of 10-15 degrees in attics after painting dark roofs with light colors. This translates to real energy savings, especially in warm climates.
Painted tiles also resist moisture better than bare concrete. The paint acts as an additional barrier against water absorption, reducing freeze-thaw damage in cold climates and algae growth in humid areas. This protection extends tile life significantly.
Watch for signs that repainting is needed: widespread fading, chalking (paint powder on your hands after touching), or multiple areas of peeling. When these appear, it's time for a full repaint, not just touch-ups. Waiting too long means more extensive preparation and possible tile damage.
Conclusion
Painting roof tiles transforms your home's appearance while adding years of protection – but only when done right. We've covered the critical distinction between paintable concrete tiles and problematic clay or terracotta options. The right tools, from pressure washers to quality sprayers, make professional results achievable. Thorough preparation, including damage repair and deep cleaning, sets the foundation for lasting results.
Your paint choice matters as much as application technique. Invest in roof-specific products and apply them methodically for even coverage. With proper maintenance, including regular cleaning and prompt touch-ups, your painted roof will protect and beautify your home for over a decade.
The investment in painting concrete roof tiles pays dividends through improved curb appeal, energy savings, and extended roof life. Whether you tackle this project yourself or hire professionals, understanding the process ensures you get results that last. Your roof doesn't just shelter your home – with the right paint job, it becomes a standout feature that adds value and character for years to come.
Can you paint clay or terracotta roof tiles?
Painting clay or terracotta tiles is not recommended. These naturally porous tiles trap moisture when painted, causing peeling within months. Glazed varieties are even worse as paint won't stick properly. Replacement is the better option for color changes on these tile types.
What type of paint is best for painting roof tiles?
High-quality 100% acrylic paint specifically designed for roofs works best for painting roof tiles. Look for products with at least 50% solids content. Elastomeric coatings offer superior waterproofing, while specialized options with ceramic microspheres provide enhanced heat reflection and longer durability.
How long does painted roof tile last?
Properly painted roof tiles can last 10-15 years with regular maintenance. Without maintenance, expect 5-7 years. The longevity depends on paint quality, application technique, and ongoing care including annual cleaning and prompt touch-ups of any chips or worn spots.
Do I need to pressure wash roof tiles before painting?
Yes, pressure washing is essential before painting roof tiles. Use at least 3000 PSI to remove dirt, moss, and algae, keeping the nozzle 12 inches from tiles. After washing, tiles must dry completely for 48-72 hours before applying primer and paint.
What is the average cost of painting roof tiles?
The cost of painting roof tiles typically ranges from $2-4 per square foot for DIY projects, including quality paint at $30-50 per gallon, primer, and equipment rental. Professional installation costs more but ensures proper application. The investment pays off through improved appearance and extended roof life.
Can painting roof tiles reduce energy costs?
Yes, painting roof tiles with light colors can significantly reduce energy costs. Light-colored paint reflects UV radiation and can lower attic temperatures by 10-15 degrees. This heat reflection translates to real energy savings, especially in warm climates, while also protecting tiles from UV damage.